New Zealand repaint troubleshooting guide
Is It Normal for Paint to Peel or Bubble After a Repaint?
No—peeling paint and blisters that remain after drying need to be checked. They should not be dismissed as ordinary curing. The weak point may be in the new coat, an older paint layer, or the surface underneath.
First identify what you are seeing. Tiny bubbles during rolling, raised pockets in dry paint and sheets of peeling paint can require different responses. Photograph the area before it is disturbed, then agree what needs investigating before another coat goes on.

Let the coating dry as directed and assess the finish. Record any craters or bubbles that remain.
Photograph and report the problem. Ask which layer is separating and whether the surrounding coating is sound.
Arrange assessment of the leak or building material before cosmetic repair. Keep clear of a sagging wet ceiling.
Paint bubbling after repainting: first identify the symptom
The word “bubble” can describe air in a wet coating or an area of paint lifting from the wall. Note when it appeared, whether the paint was wet or dry, and what changed afterwards. These observations help the painter choose the right checks.
On a narrow screen, scroll the table sideways to compare all columns.
| What you see | What to distinguish | Useful next step |
|---|---|---|
| Tiny bubbles as the roller passes | Foaming during application, which may leave small pits as bubbles break. | Check the dry finish and the application method before continuing over the same area. |
| Closed, raised pockets after drying | Blistering within or beneath the coating system. | Record moisture or weather links and arrange assessment before cutting or coating the blisters. |
| Dry flakes, curled edges or sheets of paint | Loss of adhesion or a failing coating system, rather than wet-paint foam. | Ask the painter to identify the separating layer and check beyond the visible edges. |
| Several old colours lift together | Possible failure deeper in the old paint build-up. | Request assessment of the retained layers and the extent of removal needed. |
| Paint comes away with paper, plaster or crumbly material | The supporting surface may also be damaged. | Have the wall lining or substrate assessed; a paint-only repair may be incomplete. |
Dulux distinguishes foaming and cratering during application from cracking and flaking of a dry film. The distinction matters because the repair should address the actual defect.
Do not use a photo to decide who is at fault
A picture can show the location and pattern, but usually cannot show moisture behind the coating, the preparation history or how firmly older layers are attached. Keep the question specific: “What has separated, and what evidence explains why?”
Build a next-step checklist for your paint problem
Select what you can observe without disturbing the surface. The tool gives you inspection priorities and a note to copy to your painter. It cannot confirm the cause, decide responsibility or tell you that a wall is dry enough to repaint.
These are inspection priorities based on your observations, not a confirmed cause. No visible dampness does not rule out hidden moisture.
Review the wording, add the job details and attach dated photos before sending it yourself.
Why does new paint peel or bubble?
A useful explanation should connect the visible defect with evidence from the surface and the job history. “Bad paint” and “the wall was damp” are conclusions to investigate, not complete repair specifications.
1. Moisture reaches the coating from underneath or too soon after painting
Possible routes include leaks, a substrate painted while damp, and moisture exposure during early drying. Bathrooms and laundries also need a look at condensation and ventilation. Resene’s blistering guidance explains how moisture can affect both solventborne and waterborne coatings.
Record whether the problem follows rain, a shower or another repeatable event. That pattern is useful evidence, but it does not identify the water source by itself. Read what happens if you paint over damp walls before treating an unresolved moisture issue as a cosmetic patch.
2. The preparation or primer does not suit the surface
Dust, grease, loose material and an unsuitable existing finish can interfere with the new coating. Bare timber and porous repairs may need a specified primer or sealer. Resene’s cracking and flaking guide identifies inadequate preparation and unprimed porous surfaces among the causes of failure.
Ask what was done to each surface, especially filler patches, old glossy trim and areas exposed during preparation. A sound previously painted wall does not automatically need the same treatment as bare plaster. “Two coats applied” does not describe the preparation underneath them.
3. An older paint layer gives way beneath the repaint
A new topcoat can remain attached to an old layer that then releases from the original surface. Resene calls this blistering back to the substrate. The affected build-up may need complete removal, sometimes within a limited area. It is not automatically a defect in the newest topcoat.
Ask the assessor to explain which layer failed and show how they established the extent. The answer determines whether spot preparation is enough or more of the old system must come off.
4. Heat or the application conditions affect the coating
Direct sun can heat the surface well above the surrounding air temperature. Resene’s renovation troubleshooting guide identifies excessive heat as another possible contributor to bubbling. For exterior work, review the actual surface conditions and weather exposure during application and drying.
Ask for the exact product, its technical data sheet, coat dates and any rain or dew exposure. Check the stated application conditions, spreading rate and recoat interval. A dry-looking surface and a convenient gap in the forecast do not establish that the specified conditions were met.
5. The surface beneath the paint is not sound
If the detached material includes damaged plaster, filler or plasterboard facing, assess that material as part of the repair. The inspection question becomes: “What will support the replacement coating?” Ask who will complete any lining or substrate repair and how it will be prepared for painting.
For exterior maintenance over the longer term, see how long exterior paint usually lasts in NZ. Early problems after a repaint deserve their own assessment rather than being written off as normal ageing.
Will paint bubbles go away as the paint dries?
Some can; peeling paint will not repair itself. Separate two situations before deciding whether to wait:
- Bubbles during application: assess what remains once the coating has dried as directed. Persistent pits or a rough finish still need attention.
- Small early moisture blisters: Resene notes that some swelling-related blisters in waterborne paint can recover as they dry. Larger ones may leave weakened adhesion.
Source: Resene — paint blistering. Recovery depends on the mechanism; a bubble’s size alone is not a reliable homeowner test.
If the area flattens, take a second photo from the same position. Tell the painter what happened and whether it returns. Avoid turning “wait and see” into an indefinite plan: agree when the dry finish will be reviewed and what changes should trigger another visit.
Drying time is product-specific
There is no universal 24-hour or seven-day rule that proves a blister is harmless. Use the coating manufacturer’s instructions and the conditions on the job. Active leaks, worsening damage and persistent peeling should be reported promptly rather than left until an arbitrary curing period ends.
What to document before anyone scrapes or repaints
Capture the condition before a repair changes the evidence. You can do the following from a safe, accessible position without pressing, puncturing or pulling at the paint.
- Take a location photo and a close-up.Show the entire wall or elevation, then the affected patch. Include nearby windows, pipes or roof details where relevant. Place a ruler nearby for scale without touching loose paint.
- Write down the timeline.Record when painting finished, when you first noticed the defect and whether the paint was still wet. Separate what you witnessed from dates supplied by the contractor.
- Map the pattern.Note each affected room or elevation, isolated versus repeated patches, and whether the same area failed previously. Photograph a nearby unaffected area for comparison.
- Record exposure and job details.Note rain, dew, showers, a known leak or recent washing. Keep the quote, invoice, product names, preparation description and relevant messages.
- Ask for a written assessment.Request the likely cause, supporting observations, proposed repair area, coating system and a review date. Ask what remains uncertain before accepting the scope.
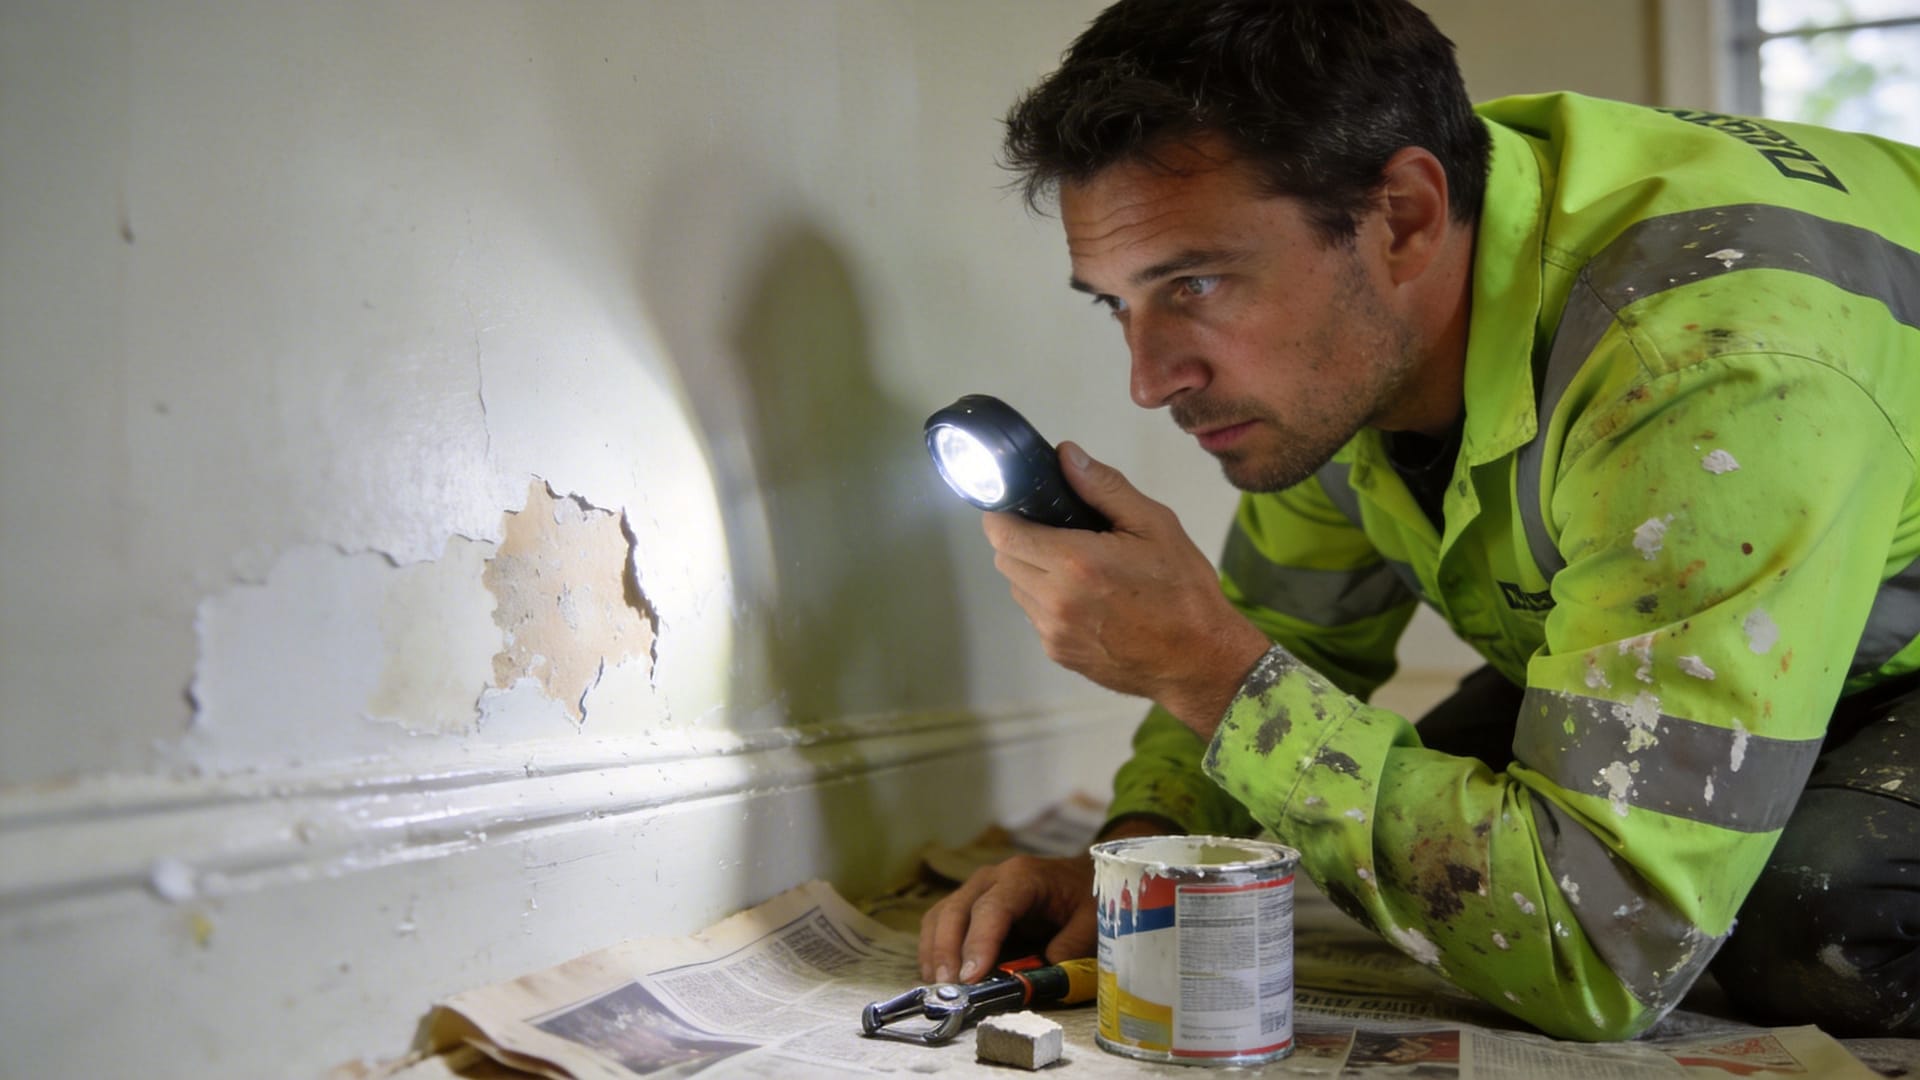
Leave destructive tests to the assessment
Cutting a grid, pulling adhesive tape or opening a blister changes the surface. Ask a competent assessor whether testing is appropriate, where it should be done and how the result will be interpreted. A test on one patch cannot establish the condition of every wall.
Before disturbing old coatings, resolve whether lead may be present and how removal will be controlled. WorkSafe’s lead-paint management guidance (PDF) explains the risks from paint-removal dust and the need to protect occupants, including children and pets.
How to fix peeling or bubbling paint properly
The correct sequence depends on the cause and the surface. Use this as a checklist for an agreed repair plan, rather than a reason to start sanding an unassessed wall.
- Resolve the cause.Deal with a leak, contamination, unsuitable preparation or other identified problem. If another trade is needed, establish who is responsible for that stage before painting is scheduled.
- Confirm what must be removed.For an assessed coating failure, remove material that cannot support the repair using the appropriate controls. Agree the boundaries based on the condition of the retained system.
- Make the supporting surface suitable.Complete any timber, plaster or lining repairs. Confirm the material is ready for the specified coating; do not rely only on how it feels at the surface.
- Prepare a consistent finish.Clean away contaminants and preparation residue, address damaged edges and use a suitable repair material where needed. Follow the repair product’s drying and preparation instructions.
- Use the specified primer or sealer.Match it to exposed material and the retained coating. A product selected for a stain may not perform the same role as one selected for a difficult adhesion surface.
- Apply and review the topcoats.Follow the product’s coverage and recoat guidance in suitable conditions. Check the repaired area and the agreed finishing area after drying, and record the completed work.
The technical starting points are Resene’s cause-first repair guidance and the instructions for the particular surface and coating products. No single primer or coat count resolves every failure.
Another coat is not a complete repair specification
A useful proposal names the defect being corrected, preparation boundaries, any substrate repairs, coating products and the finished area. If the proposal leaves those points unclear, ask for the missing detail before work starts.
Do you need a patch repair, a whole wall or a full repaint?
The visible patch and the repainting area are different quantities. One describes the damage; the other describes the area needed for an acceptable, consistent finish. Ask the contractor to identify both.
| Assessment finding | Scope to discuss | What the quote should explain |
|---|---|---|
| One local defect; nearby coating confirmed sound | Local preparation and repair, followed by a suitable finishing area. | How the repair will blend with the existing colour, sheen and texture. |
| Several defects on one wall or elevation | Assessment of the full affected surface before setting removal boundaries. | Why the proposed boundary is appropriate and how retained paint was checked. |
| Water damage or unsuitable lining beneath the paint | Cause correction and substrate repair before the paint system. | Separate responsibilities, readiness checks and what painting includes. |
| Repeated failure or problems across several surfaces | A broader investigation and written remedial specification. | Which surfaces need work and what evidence supports including or excluding each one. |
A small patch can still mean painting a complete wall
For illustration, a 30 × 20 cm patch covers 0.06 m². A wall 3 m wide and 2.4 m high covers 7.2 m² before openings. The repair might be local, while finishing the full wall may be proposed to achieve consistency. These are example dimensions, not a rule that every patch needs a whole-wall repaint.
What drives the repair cost?
The useful cost breakdown separates investigation, cause correction, preparation, substrate repair, coating and access. A cheap topcoat allowance can leave most of the remedial work unpriced.
- Investigation and source repairsIdentify any assessment, leak repair or other trade work that sits outside the painting quote.
- Removal and preparationState the area, retained layers, dust controls, cleanup and how further discoveries will be handled.
- Finishing and matchingSeparate the repair footprint from walls, ceilings or elevations being repainted for consistency.
- Access and return visitsInclude scaffolding or other access where required, protection, drying intervals and the agreed handover.
If a paid repaint is needed, use the calculators below to start budgeting for the painting portion. They cannot price an unidentified leak, extensive stripping or damaged wall lining without a separate scope. First establish whether any work is a remedy for the original service.
Is the painter responsible for peeling or bubbling?
Workmanship, the chosen system, underlying conditions and the agreed scope all need consideration. A fresh failure is a reason to ask for an explanation. Neither “it is just curing” nor “it is old paint” should replace an assessment of the actual job.
For consumer painting services supplied by a business, New Zealand’s Consumer Guarantees Act can apply, including a guarantee of reasonable care and skill. Your position is not determined only by the wording of a written warranty. Consumer Protection’s guidance on poor-quality services explains the guarantees and available remedies.
Start by notifying the original provider in writing, showing the defect and asking for inspection and a proposed remedy. The appropriate response depends on the cause, seriousness and circumstances. If responsibility or the remedy is disputed, a technical opinion and consumer advice can help before you make payment or replacement-contractor decisions.
Ask for answers to these five questions
- What is your assessment of the defect, and which observations or tests support it?
- Which layer or supporting material has failed, and how far does that problem extend?
- Was any relevant pre-existing risk identified before painting, and what preparation was agreed?
- What will the repair include, who will carry it out, and will there be any proposed charge?
- When will you inspect and complete the work, and how will we review the result?
For the wider handover check, use our guide to inspecting a house painting job before final payment. Record the defect and agreed follow-up alongside the original quote.
A message you can adapt for your painter
Hi, I have noticed peeling or raised paint in [location] following the repaint completed on [date]. I first noticed it on [date], and it appears to [describe the pattern]. I have attached an overall photo and close-ups.
Please arrange an inspection and explain the likely cause, the evidence supporting it and the proposed repair. Please confirm the preparation and coating system, the area to be refinished, the timing and whether any charge is proposed before remedial work starts.
For a note based on your observations, use the interactive checklist above. Add confirmed details rather than assuming the cause.
Frequently asked questions
Is paint peeling a few days after repainting normal?
No. Record it and ask the painter to assess the cause. The timing is useful evidence, but it does not tell you whether the problem is in the new coat, an older layer or the supporting surface. Do not simply cover the peeling area with more paint.
Why is my second coat making the paint bubble?
First distinguish tiny bubbles in the wet paint from an underlying layer lifting. Record whether they disappear, leave pits or develop into blisters. Ask the painter to check the application method, recoat requirements and existing surface before continuing with the same process.
Does bubbling paint always mean a leak?
No. Moisture may be involved, but a bubble does not identify its source. Application foam, heat effects and weaknesses in older coatings also need consideration. A pattern following rain or showers is a useful clue to report, not proof of a particular leak.
Can I pop the bubbles and sand them flat?
Photograph and report them first. Opening a blister changes the evidence, and disturbing old paint can create a dust hazard. Agree the cause, removal method and repair boundaries before preparation. If a wet ceiling is sagging, keep clear and arrange prompt qualified help.
What if the bubbles disappear when the wall dries?
Take another photo and record whether they return. Some early moisture-related swelling can recede, but appearance alone does not establish lasting adhesion. Agree a review of the dry finish with the painter, especially if the area later cracks, flakes or blisters again.
Will a better primer stop the peeling?
Only if the assessed surface is suitable and the primer addresses the actual need. It will not resolve an active leak or replace repairs to damaged supporting material. Ask which primer is specified, where it is needed and what preparation must happen first.
How long should a wall dry before repairing the paint?
There is no universal waiting time. Readiness depends on the material, why it became wet, drying conditions and the coating instructions. Ask how readiness will be checked for that surface instead of assuming a fixed number of days or a dry feel is enough.
Do bubbles in one room mean the whole house needs repainting?
No. Have the affected area and relevant surrounding surfaces assessed. The quote should explain the boundaries of preparation and finishing. A wider repaint needs a reason tied to coating condition or the agreed finish, rather than being assumed from one isolated defect.
Should I pay another painter to fix it straight away?
Normally, first contact the original provider and document the proposed response. For a disputed consumer-service remedy, consult the Consumer Protection guidance linked above. Deal promptly with active water or immediate safety concerns, while retaining evidence of the problem and any necessary work.
Get the cause and repair scope clear first
Keep dated photos, ask what has failed, and agree how the supporting surface will be made suitable. A clear inspection note gives you a practical starting point for that conversation.
Technical sources and scope
Reviewed 15 September 2026. This guide combines manufacturer explanations with an editorial inspection workflow for NZ homeowners. The tool provides questions and next steps; a site assessment is needed to establish the cause and remedial specification.
- Dulux NZ — foaming and cratering and cracking and flaking: distinguishing wet-film and dry-film symptoms.
- Resene — blistering: moisture effects and possible recovery of some small early blisters.
- Resene — blistering back to the substrate: failure in old coating layers.
- Resene — cracking and flaking and renovation troubleshooting: preparation, heat and repair considerations.
- WorkSafe — lead-paint management guidance (PDF): controlling exposure during removal.
- Consumer Protection — poor-quality or incomplete services: household-service guarantees and remedies.