New Zealand damp-wall painting guide
What Happens If You Paint Over Damp Walls?
The paint may look acceptable at first, but moisture can prevent it bonding properly. The usual results are bubbles, peeling, stains, uneven sheen and mould returning through the new finish.
Fix the leak, condensation or water ingress first. Then let the wall dry, check that the lining is still sound, prepare it and use the coating system specified for that surface. A stain blocker or anti-mould paint can support that process; neither one stops active damp.

What actually happens when paint goes over a damp wall?
Paint needs a clean, sound and suitably dry surface to adhere and cure. Damp interrupts that process. Moisture moving through or sitting behind the coating can lift the film, carry contaminants to the surface and keep mould-friendly conditions in place.
1. Paint bubbles or blisters
Round bubbles form as moisture disrupts adhesion or becomes trapped under the paint. Resene identifies blistering as moisture-related and notes that larger blisters can weaken adhesion enough to cause peeling.
2. The new coat peels off
Instead of bonding to a stable surface, the coating is attached to damp paint, softened plaster or contaminated material. It may lift at an edge or come away in sheets.
3. Brown or yellow stains return
Water can carry tannins, salts and other contaminants through the wall system. A normal topcoat may hide the mark only until the next wet cycle.
4. Mould comes back
Cleaning or painting the visible spot does not remove the conditions that allowed mould to grow. Hidden moisture can also affect the back of plasterboard or the cavity.
5. The sheen turns patchy
Damp and dry areas absorb and cure differently. In side light, the wall may show dull patches, flashing, roller marks or uneven colour even when the same paint was used.
6. Wall lining deteriorates
Repeated moisture can soften, swell or shorten the life of plasterboard. GIB guidance says standard gypsum plasterboard has a shortened life expectancy when it is frequently exposed to water or moisture.
When will the failure appear?
A wall can pass the “looks dry” test and still fail. Surface colour and touch are weak evidence after a leak. The important questions are whether the source has stopped, whether readings have stabilised against a comparable dry area and whether the lining remains sound.
First diagnose why the wall is damp
“Damp wall” describes a symptom, not one fault. Condensation, a plumbing leak, rain entry and moisture from below need different repairs. The location and timing of the mark usually provide the first useful clues.
| Pattern you can see | More likely cause | What to check before painting | Paint now? |
|---|---|---|---|
| Water droplets, black spotting or damp corners in bedrooms and bathrooms; worse in winter | Surface condensation on cold areas, often combined with weak extraction, heating or airflow | Extractor venting, window condensation, indoor drying of clothes, furniture tight to external walls and whether the mark returns overnight | No until the moisture pattern is controlled |
| A localised patch below a bathroom, pipe, hot-water cylinder or plumbing fitting | Plumbing or waste-pipe leak | Active dripping, meter movement, plumbing inspection and moisture beyond the visible patch | No until repaired and dried |
| Staining that becomes darker after wind-driven rain, often near windows, ceilings or an exterior wall | Roof, flashing, cladding, sealant, gutter or window water entry | Exterior defects and whether the area stays dry through later rain | No; find the entry path first |
| Damage concentrated near the floor, skirting or the base of masonry | Ground moisture, drainage issue, subfloor moisture or moisture moving through masonry | Ground levels, drainage, downpipes, subfloor conditions, salts and a professional moisture assessment | No; paint alone is unlikely to hold |
| Fresh stopping compound or plaster is darker in patches but there is no leak pattern | New material still drying | Even colour, product instructions, room conditions and comparable moisture readings | Wait for full drying |
| White powder or crystals on block, brick or concrete | Efflorescence: soluble salts brought to the surface by moisture | Where water enters, drainage, waterproofing details and whether deposits return after dry cleaning | No while moisture movement continues |
NZ-home context: Building Performance identifies kitchens, bathrooms and unvented laundries as major indoor moisture sources. It recommends extracting moist air outdoors, fixing leaks and using ventilation, warmth and insulation to reduce condensation. Those measures solve a different problem from repairing a roof or plumbing leak, so do not treat every damp patch as “poor ventilation”.
Can I paint this wall yet? Use the readiness check
Tick an item only when you can genuinely confirm it. This is a screening tool, not a substitute for leak detection or a building assessment where damage is substantial.
Not checked yet
Complete the six checks. A missing item does not always mean the wall is beyond repair, but it does mean painting is premature.
The real “green light” is evidence, not a fixed number of days. You want a repaired source, a stable dry trend, sound material and a coating system compatible with that material. If you cannot explain where the water came from, the wall is not ready.
How long should a damp wall dry before painting?
There is no safe universal answer such as 24 hours, three days or one week. A thin film of bathroom condensation may disappear quickly once extraction improves; saturated plasterboard, framing or masonry can take far longer and may require opening up or replacement.
Use these four readiness tests
- Source test: the leak or moisture cause is fixed.
- Repeat-condition test: the patch stays dry after rain, showers or another relevant moisture cycle.
- Comparison test: readings have stabilised near a comparable known-dry section—not merely dropped once.
- Material test: the substrate is firm and free of loose coating, salts, active stains and returning mould.
Do not rely on these shortcuts
- “It feels dry when I touch it.”
- “The stain has gone pale.”
- “A heater ran overnight.”
- “The primer says stain blocking.”
- “Only one small corner is affected.”
What changes with the wall material?
| Surface | What damp can do | Readiness or repair issue |
|---|---|---|
| Painted plasterboard / GIB | Paper can delaminate; the core can soften or deform; contamination may exist behind the face. | Do not paint soft, swollen, sagging or persistently mouldy board. Significant water damage may require assessment and replacement. |
| Stopping compound or solid plaster | Uneven moisture causes dark patches, weak areas, cracking or poor primer absorption. | Allow the material to dry evenly and follow the plaster/compound and primer specifications. |
| Concrete, brick or block | Moisture can carry salts to the face and can push coatings away under hydrostatic pressure. | Remove dry deposits, solve water movement and use a system specifically approved for the measured condition. |
| Timber | High moisture can affect dimensional stability, adhesion and durability. | Use an appropriate moisture meter and the coating manufacturer's limit for the timber and paint system. |
Do not turn one moisture percentage into a rule for every wall. Meters, materials and coating specifications differ. MBIE's flood-repair guidance says timber framing must be below 20% moisture content before replacement plasterboard is installed, with some manufacturers recommending 18% or less. That is a framing-and-reinstatement threshold after flooding—not a universal permission to paint any surface at 19%.
Already painted over the damp wall? Repair it in this order
Do not keep adding coats to hide each new mark. Every weak layer increases the preparation needed later. Work from the building problem outward to the visible finish.
- Stop and document the pattern
Photograph the area, note whether it changes after rain or showers, and mark the edge lightly if the stain is spreading. In a rental, notify the landlord promptly rather than covering evidence.
- Identify and fix the moisture source
Check extraction and condensation patterns, plumbing, roof and window details, gutters, downpipes, cladding and subfloor moisture as relevant. Use the appropriate trade where the source is not obvious.
- Decide whether the lining can remain
Firm, lightly affected material may be repairable. Soft, swollen, sagging, heavily contaminated or flood-damaged plasterboard needs professional assessment and may need replacement. Large removals can affect bracing, fire or acoustic systems.
- Dry and verify
Use safe ventilation, extraction, heating or dehumidification as appropriate. Do not close the wall or coat it until the moisture trend is stable and hidden spaces are addressed where necessary.
- Remove failed coating and contamination
Scrape loose paint back to a firm edge. Clean and treat mould safely, deal with salts or stains, feather-sand compatible coatings and repair damaged plaster. Avoid dry-sanding unknown old coatings without considering lead-paint risk.
- Prime for the actual problem
Use the specified sealer or primer for bare plaster, repaired paper, stains, masonry or another substrate. A stain-blocking primer is useful only after moisture has stopped and the surface is dry enough for that product.
- Repaint and watch the repaired area
Apply the topcoat at the recommended spread rate and drying conditions. Keep bathrooms ventilated while fresh paint cures, and check the area after the next relevant wet-weather or humidity cycle.
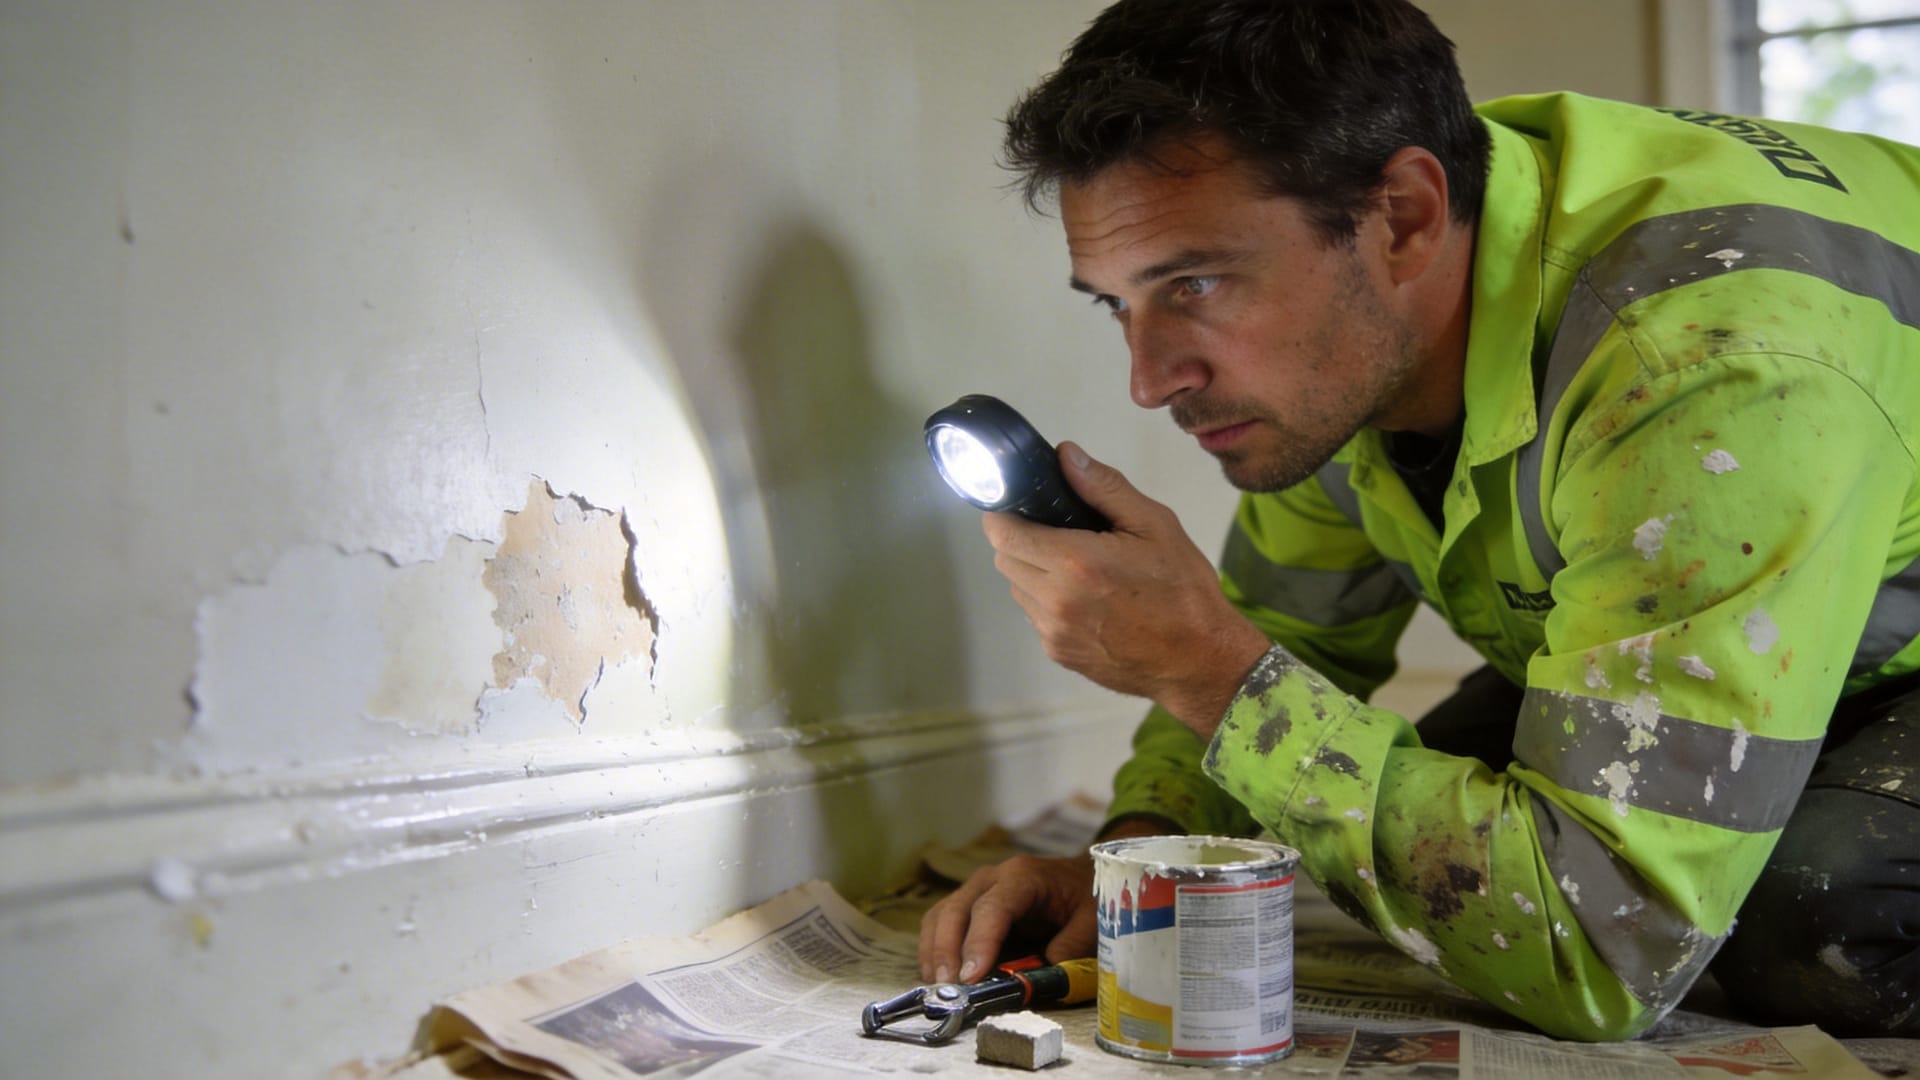
Will anti-mould paint, stain blocker or “damp paint” fix it?
These products solve coating problems. They do not repair a pipe, flashing, cladding joint, drain or ventilation system. Match the product to the job it can actually do.
| Product | What it can do | What it cannot do |
|---|---|---|
| Anti-mould interior paint | Help the finished surface resist mould growth in an appropriate room once it is clean, sound and dry. | Remove hidden mould, stop condensation or seal an active leak. |
| Stain-blocking primer | Isolate a dry residual water mark, tannin or another compatible contaminant before topcoating. | Stop water continuing to carry new contamination through the wall. |
| Plasterboard sealer | Control porosity and prepare new or repaired plasterboard as specified. | Restore softened, swollen or structurally compromised lining. |
| Masonry moisture-barrier system | Manage a defined moisture condition when the substrate and system are within the manufacturer's specification. | Serve as a generic topcoat for an undiagnosed leak or defective drainage. |
Useful rule: if the product label is the first time the moisture source is being discussed, the process is in the wrong order.
What if the damp wall is in a New Zealand rental?
Photograph the damp, mould, staining and failed paint; record when it worsens; and notify the landlord or property manager promptly. Tenancy Services says rental homes need to be free from mould and dampness before being rented out. It also separates building-side causes—such as external moisture, gutters, downpipes and drainage—from the tenant's role in keeping the home clean and ventilated.
All rental properties must comply with the Healthy Homes standards unless an exemption applies. Those standards include heating, insulation, ventilation, moisture ingress and drainage, and draught stopping. Painting over the patch does not demonstrate that the moisture source has been repaired.
Useful evidence to send
- Clear close-up and room-context photos
- Dates and weather or shower conditions
- Musty smell, softness, swelling or spreading
- Any steps already taken to ventilate and heat
- Whether gutters, pipes or exterior areas appear involved
When not to DIY the paint
- The source is a building defect or leak
- The lining may require removal
- The affected coating may contain lead
- Mould or damp is extensive or keeps returning
- There are electrical fittings in the wet area
Budget the repaint only after the damp scope is clear
Painting calculators estimate painting work. Leak repair, drying, mould remediation, plasterboard replacement and specialist access may sit outside that amount. Once the wall is dry and repairable, use the most relevant estimator below to plan the coating stage.
Who should inspect the problem?
Plumber
Use a plumber for suspected supply lines, drains, bathrooms, hot-water systems or unexplained localised wetness near plumbing.
Roofer, builder or weathertightness professional
Use the relevant building professional for roof, flashing, cladding, joinery, drainage or concealed water-entry problems.
Experienced painter
A painter can assess adhesion, surface preparation, stain blocking and the coating system—but should not be asked to disguise active moisture.
Escalate promptly if water is near switches or outlets, plasterboard is sagging, a ceiling is bulging, the leak is active, mould is extensive, floodwater contamination is possible or structural/bracing lining may need removal.
Frequently asked questions
Can you paint over a slightly damp wall?
Not reliably. “Slightly damp” still means the surface condition is outside what a normal interior coating expects. Identify the cause, let the wall dry and confirm readiness against the product instructions before priming or painting.
Will paint dry on a damp wall?
It may become touch-dry, but that does not mean it has bonded or cured correctly. Moisture can cause slow cure, uneven sheen, blistering and later peeling.
How soon will paint bubble if the wall is damp?
It can happen within the first few days, especially while a fresh coating is vulnerable, or only after the next rain or humidity cycle. Timing depends on the moisture source, substrate and coating—not merely the paint brand.
Can a dehumidifier make the wall ready to paint?
A dehumidifier can assist drying, but it does not repair the source. It should be part of a controlled drying process followed by verification, not proof on its own that the wall is ready.
Can I paint over a dry water stain?
Yes, if the source is fixed, the substrate is dry and sound, and any contamination is properly prepared. A compatible stain-blocking primer may be required before the finish coats.
Does anti-mould paint stop damp?
No. It can help resist mould on a correctly prepared surface, but it cannot stop condensation, plumbing leaks, rain entry or ground moisture.
Do I have to replace damp plasterboard?
Not every briefly damp sheet requires replacement. However, soft, swollen, sagging, heavily contaminated or flood-damaged plasterboard may need partial or full replacement. Because plasterboard can provide bracing, fire resistance or acoustic performance, get professional advice before removing large areas.
Can I use a hair dryer or heat gun to dry the wall?
A heat gun can damage paint, plasterboard paper and nearby materials and can create a fire risk. Dry the space using appropriate ventilation, extraction, heating or dehumidification, and investigate hidden moisture rather than overheating one surface spot.
Why does the wall still smell musty after painting?
A musty smell suggests moisture or microbial growth may remain in the coating, lining, insulation or cavity. Do not add another coat; investigate the source and concealed materials.
Is painting over damp walls cheaper than repairing them?
Usually only in the very short term. If the paint fails, you pay for the rushed coating, removal of weak layers, additional surface repair, primer and a second repaint—while the original moisture problem may have worsened.
NZ technical references used for this guide
The honest answer
If you paint over a damp wall, the finish may survive long enough to look like a solution—but it has not removed the cause. The next wet cycle can bring back bubbles, peeling, stains, mould or a patchy sheen, and damaged wall lining may continue deteriorating out of sight.
Fix the moisture source, confirm the wall has dried, repair the substrate and then paint once with the correct system. That sequence is slower than opening a tin today, but it is the shortest route to a finish that lasts.