NZ homeowner guide · Interior and exterior
How to Inspect a House Painting Job Before Final Payment
Check the agreed work, inspect the dry finish, and write down anything that needs attention. Look for missed areas, uneven coverage, conspicuous touch-ups, untidy edges, paint on fittings and early coating failure. Walk through the list with your painter and record the next steps.
Use the checklist below to make that conversation specific. A final inspection helps you identify outstanding work; the contract and any formal payment-claim process still govern how you deal with the invoice.
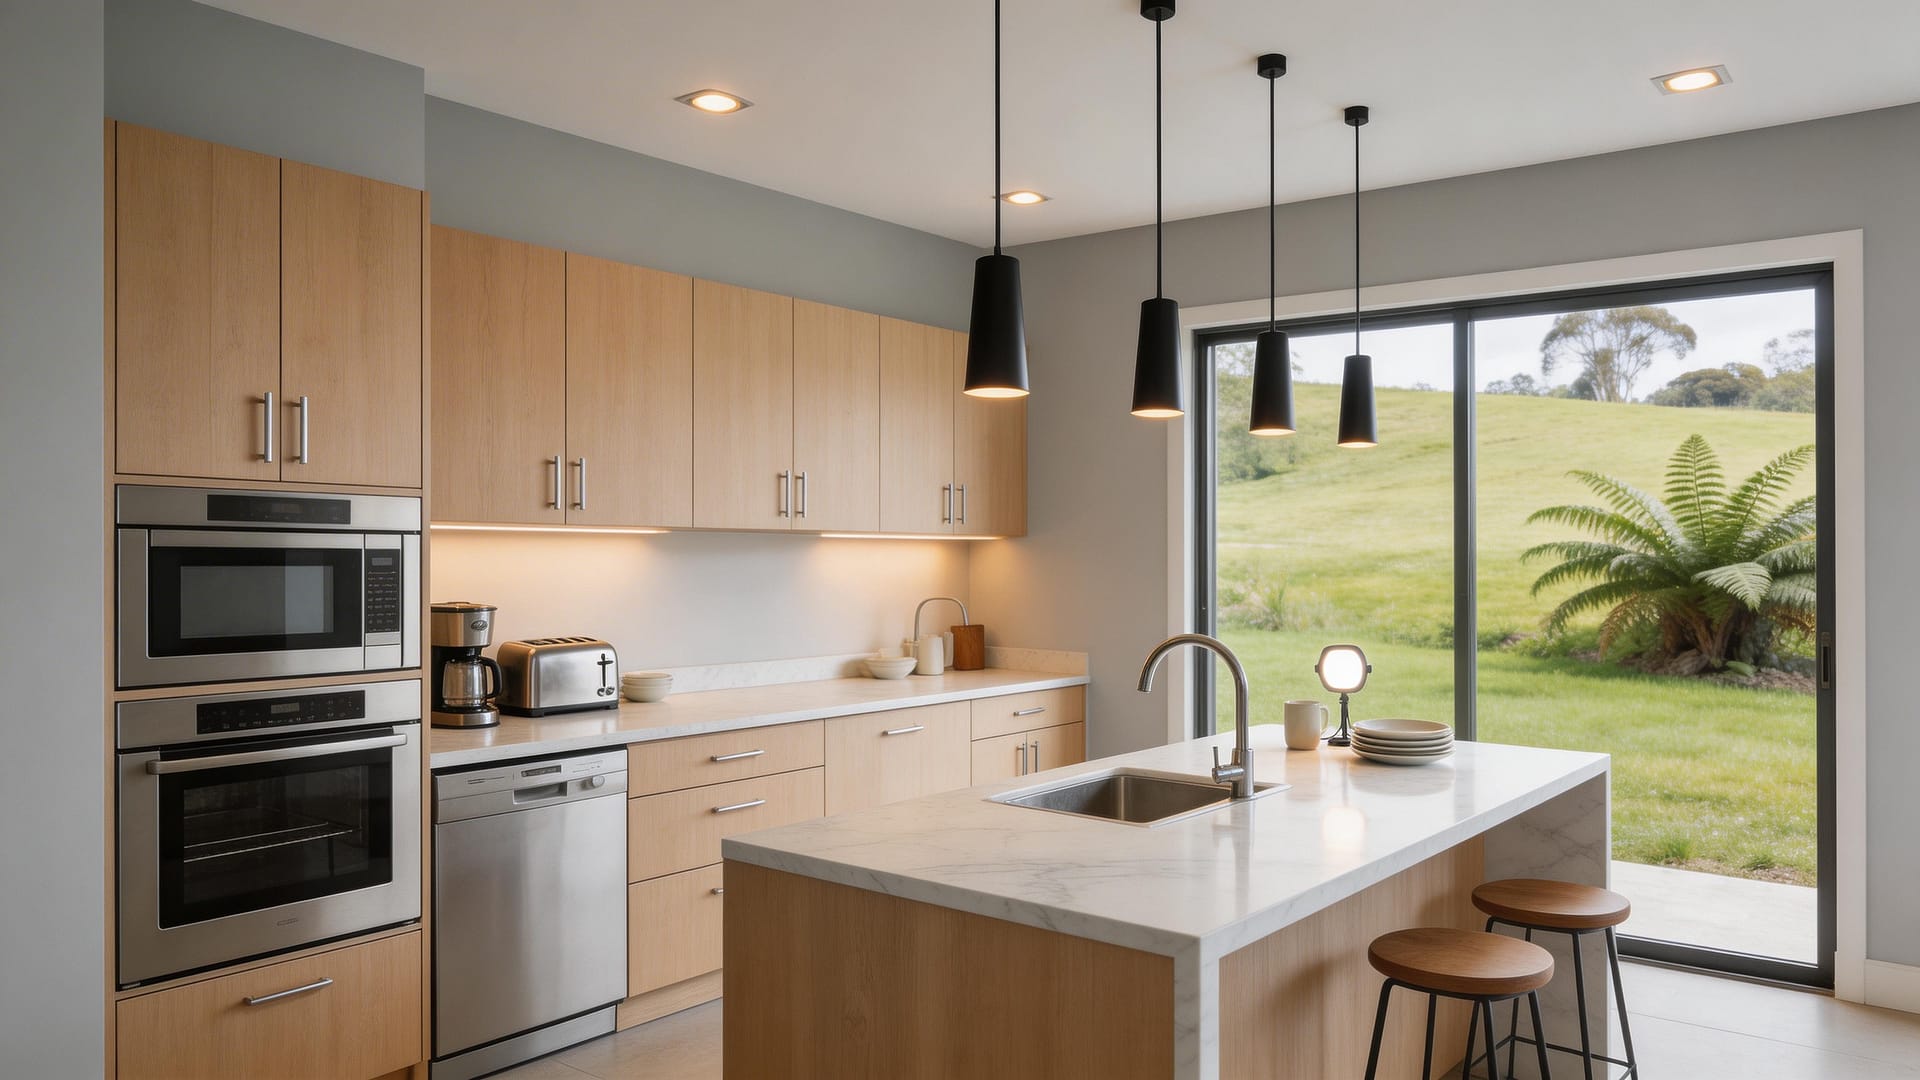
Use the quote, specifications, colour selections and approved changes as your starting point.
Describe the location and appearance. Keep unchecked areas and uncertain causes clearly identified.
Record repairs, access and a review date. Check invoice and payment-claim deadlines separately.
House painting inspection checklist: what to check
Start at the entrance to each room or at one corner of each exterior elevation. Follow the same route every time: large surfaces, edges, joinery, then clean-up. Compare areas under similar conditions so you can explain any difference.
On a narrow screen, scroll sideways to read all three columns.
| Check | Look or ask for | Record if you find a concern |
|---|---|---|
| 1. Scope and omissions | Every quoted room, surface, repair and agreed extra accounted for. | Exact missing item and the relevant quote or variation. |
| 2. Colour and sheen | The specified colour, strength and finish on the correct surfaces. | Which wall or trim differs; check the paint label and approved selection. |
| 3. Coverage | A dry coating that hides the underlying colour as intended, with no obvious missed strips. | Location of show-through, exposed edges or unpainted patches. |
| 4. Surface finish | Consistent appearance across each surface, including repaired areas. | Visible runs, heavy ridges, debris, shiny patches or dull touch-ups. |
| 5. Edges and cut-ins | Controlled boundaries beside ceilings, skirtings, tiles and joinery. | Where paint crosses the intended line or leaves a visible gap. |
| 6. Coating problems | No unexplained lifting, persistent blisters or new staining. | When the symptom appeared, its extent and any moisture pattern. |
| 7. Fittings and operation | Protected surfaces left clean; painted doors and windows usable when ready. | Splashes, damage or sticking. Ask the painter to demonstrate rather than force a stuck sash. |
| 8. Completion and handover | Agreed clean-up, paint identification, care advice and outstanding items documented. | Missing documents, inaccessible areas and any return visit still needed. |
Coverage and sheen are different checks. Dulux describes poor hiding as the underlying surface remaining visible through the dry coating. Uneven sheen, or flashing, creates patches with different reflectivity. A wall can hide the old colour and still have an uneven finish.
When and how should you inspect fresh paint?
Inspect the dry appearance, then confirm the care period
Ask when the final coat was applied and when that product can be assessed, handled and cleaned. Schedule the walkthrough before furniture or curtains conceal the work. If a surface is still wet, record it for another check.
Drying and curing are different stages. Resene’s technical advice explains that a coating can be dry while still developing hardness and resistance to cleaning. Follow the actual product instructions; there is no single waiting period for every paint and condition.
Use normal light before investigating a close-up detail
MBIE’s 2015 workmanship guide uses a standing distance of at least 2 metres for painted non-concrete surfaces, with an unobstructed viewing angle of 45° or more and typical, even indoor lighting. Its guidance primarily addresses new residential work; apply it alongside the agreed specification and the condition of an existing home.
The guide also distinguishes critical light: strong light striking a surface at a shallow angle. Imperfections visible only under that lighting do not, by themselves, indicate defective workmanship unless the contract specifies otherwise. A torch held along a wall can help locate a detail, but it should not be the only basis for judging the finish.
A useful two-photo method
Take one photograph showing the whole area from where the issue is normally visible, then a closer photograph identifying the detail. Note the light conditions. If the concern appears only at a certain time of day, arrange to look at it together then and compare it with the agreed finish.
A visual walkthrough cannot establish hidden preparation, coating thickness, long-term adhesion or whether concealed timber is dry. Do not scratch, cut or tape-test fresh paint as a homeowner acceptance test.
Check the quote before deciding something is unfinished
Have the accepted quote and any written changes open on your phone. “Paint the bedroom” may leave questions about the ceiling, wardrobe interior, doors, window frames or major plaster repairs. Identify those questions instead of assuming every nearby surface was included.
- Areas and exclusionsList the rooms, elevations, trim and surfaces included. Note anything expressly excluded.
- Preparation and repairsCompare the agreed washing, filling, sanding, stain treatment and repair work with the job record.
- Coating systemCheck the specified products, colours, sheen and coats, including priming where required.
- Approved changesMatch extras, substitutions and credits to what you actually agreed.
Read whether a painting quote includes prep work in NZ if preparation is the point of disagreement. An old wall with limited filling is a different scope from a full skim and repaint. Ask how any existing irregularity was addressed in the agreed finish.
You cannot count the coats by looking at the final colour. Where application history is disputed, ask for the painter’s work records, product details and any progress photographs. Appearance is one part of the evidence.
Room-by-room and exterior painting checks
Walls, ceilings, doors and trim
Give each room its own record. Look at the ceiling from the doorway and another normal standing position, then follow the walls around the room. Include the wall behind an open door and the skirting beside furniture where safely accessible.
- Ceilings: note visible bands, missed edges around fittings and differences over repaired areas.
- Walls: compare the middle of each wall with cut-in areas, corners and patches.
- Doors and trim: check the quoted faces and edges, pooled paint in profiles, hardware and contact points.
- Wardrobes and cupboards: include only the surfaces in the scope, and record any area that cannot yet be seen.
If a door sticks, ask the painter to check it without damaging the finish. Dulux calls paint-to-paint sticking blocking. A sticking door may also have a fit or hardware issue, so establish what is causing the resistance before deciding on a repair.
Kitchens, bathrooms and laundries
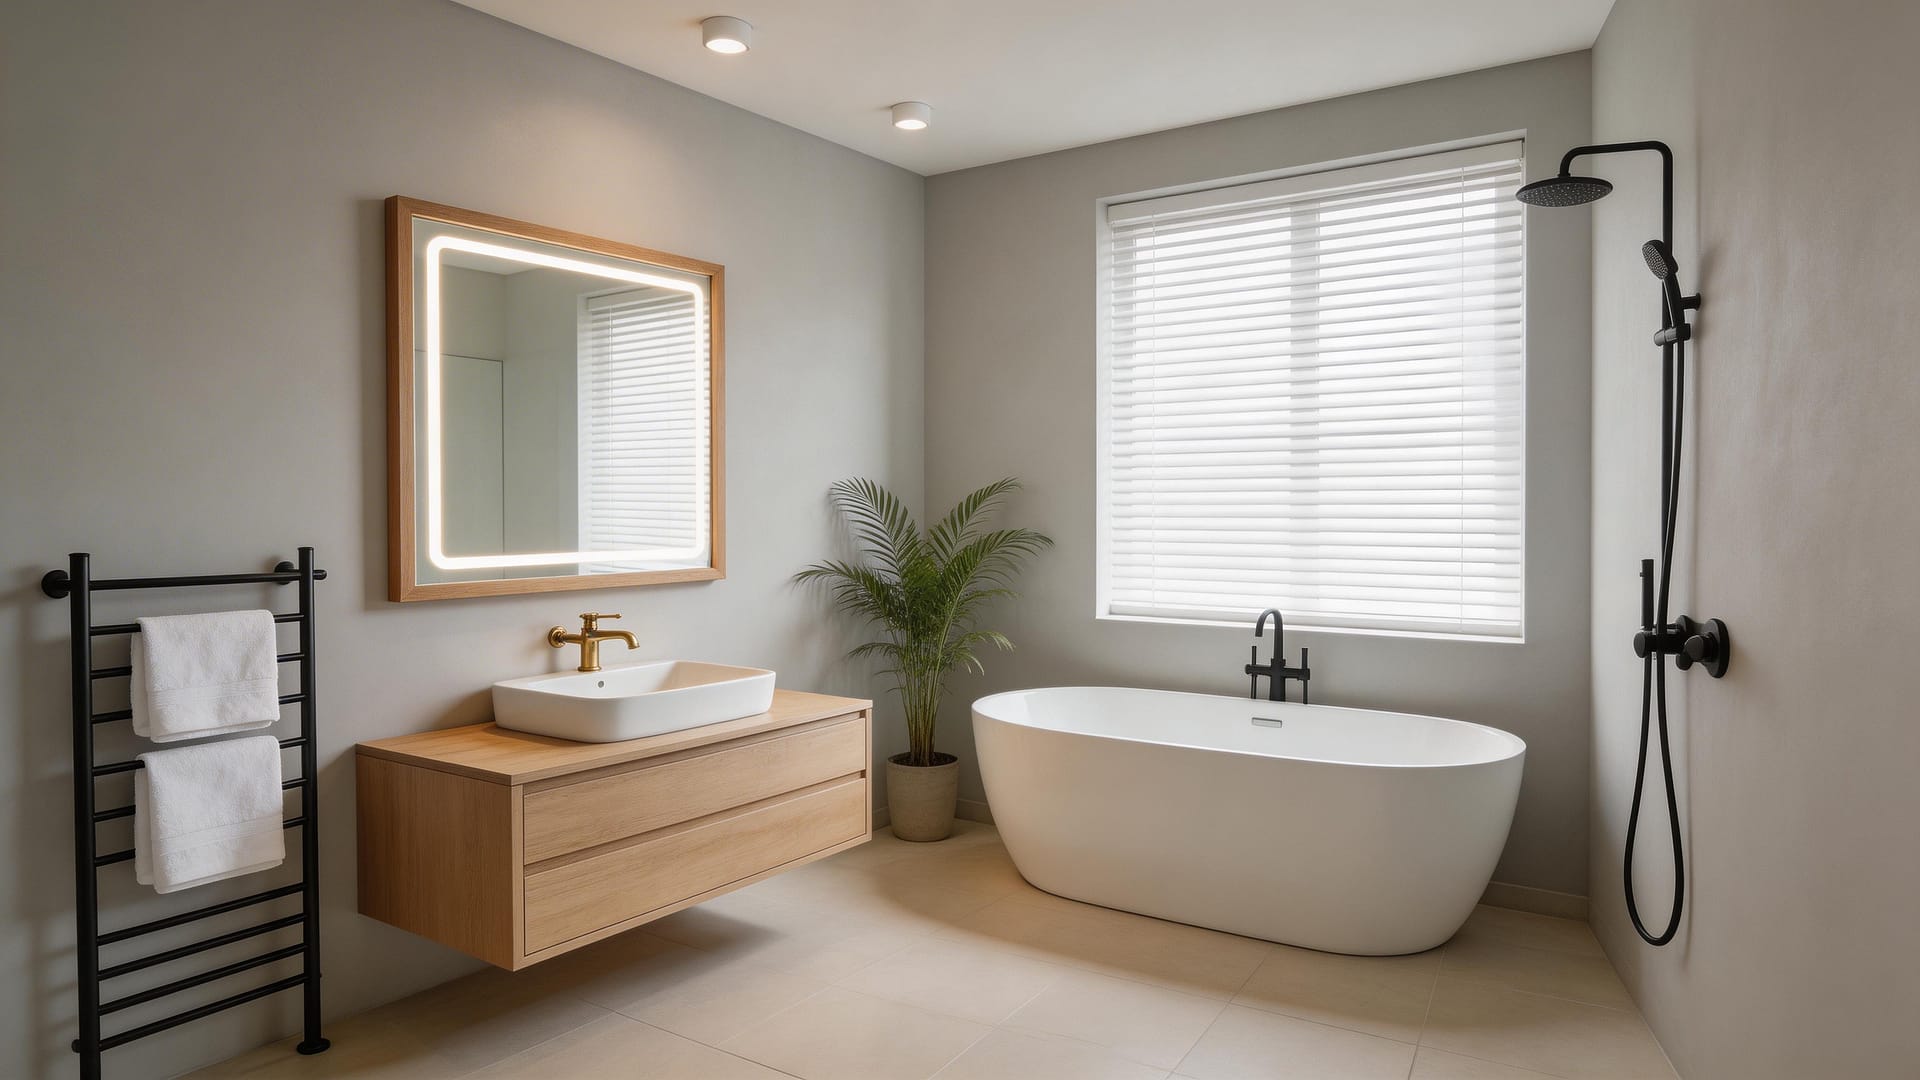
Inspect the edges beside splashbacks, tiles, mirrors, extraction grilles and cabinets. Confirm which product was used on the walls and ceiling and ask for its ventilation, water-exposure and cleaning instructions. Paint colour alone does not show whether the specified coating was used.
Do not run a steamy shower or scrub a new wall to “test” the finish. Record staining, lifting or persistent bubbles for assessment. Leave appliance moving and anything requiring unsafe access to the appropriate person.
Exterior walls, weatherboards, fascias and soffits
Work around the house by named elevation: north, south, east and west, or street, garden and driveway sides. Check each side separately. Access and exposure can differ enough that one neat wall tells you little about the rest.
- Match the surfaces to the scope. Include quoted boards, trim, fascias, soffits, doors and other components.
- Record visible coating concerns. Note misses, runs, lifting edges, repair boundaries and new staining, with wide and close photos where safely possible.
- Ask about concealed or high work. Request photographs and the painter’s checks for areas you cannot inspect from safe ground. Identify them as not personally inspected.
- Check the surrounding property. Look for overspray on glass, paving, vehicles and fittings, and for debris left where preparation took place.
Arrange any high-level review with the contractor while suitable access can still be planned. Do not climb onto a roof or scaffold to complete this checklist. Ask the contractor to confirm that coating or sealant work has respected the cladding and joinery manufacturer’s details; a homeowner should not fill every visible opening.
Is it a touch-up, a finish issue or a deeper problem?
The number of marks is less useful than their nature and pattern. A small area of lifting paint may need more investigation than several isolated clean-up items. Use the description you can support and ask the painter to propose the repair.
| Observation | Question to resolve | Next step |
|---|---|---|
| One missed edge or paint speck | Is this an isolated completion or clean-up item? | List the location, agree correction and recheck it. |
| A visible patch or broad band | Is the difference in coverage, sheen, texture or the underlying surface? | Assess the dry finish and agree a repair boundary. |
| Similar concerns across several walls | Does the same application or preparation issue extend beyond one spot? | Review the affected surfaces together before repeated spot repairs. |
| Peeling, persistent blisters or recurring stains | Which layer or material is affected, and is moisture involved? | Investigate before applying another cosmetic coat. |
| Old unevenness visible under strong side light | What surface improvement and finish were specified? | Compare the existing condition, scope and normal appearance before agreeing a remedy. |
When does a touch-up need a whole wall recoated?
A local repair may blend adequately, but it can remain conspicuous because of texture, application method, paint build or sheen. Resene’s touch-up advice describes situations where repainting to a natural break, such as a wall corner, gives a more consistent result. Agree to assess the dried repair before treating spot painting as finished.
That does not mean every small mark requires the whole house to be repainted. Ask: “Which surface needs recoating, what is the intended boundary, and what will we check afterwards?”
When fresh paint is lifting
Repaint failure can involve an older layer beneath the new coating. Resene explains how ageing paint systems can separate back to the substrate. A surface photograph alone will not establish which layer failed or why.
For the next inspection questions, see whether paint peeling or bubbling after a repaint is normal. Keep the area undisturbed until the cause and suitable repair have been assessed.
Create your painting snag list
A snag list is a written list of items to check or put right. Use this tool for one room, elevation or clearly defined area at a time. It produces a record you can copy or download and discuss with your painter.
The interactive record needs JavaScript. You can also use the checklist above and written record template below.
Your walkthrough record
This is an observation record, not a professional inspection, acceptance certificate, diagnosis or statutory payment schedule. It does not calculate what you should pay or withhold.
How to write a useful defect list for your painter
Make each item easy to find again. Give it a short reference, a precise location and a factual description. Add the date, lighting and photo references. Keep the observed problem separate from an unconfirmed explanation.
Illustrative entry — replace with your observations
L1 · Lounge, garden-facing wall, left of window.
A dull rectangular patch is visible from the room entrance in even daylight. Final coat reported dry before inspection. Photos L1-wide and L1-close. Please inspect the finish and advise the correction needed. Cause and repair scope not yet agreed.
A close-up alone may leave the painter searching for the spot. Keep the wider image and use a description such as “above the left corner of the door”. Avoid putting adhesive markers on fresh paint without the painter’s agreement.
A message you can adapt
This message starts a workmanship conversation. If you need to dispute a formal payment claim, follow the applicable payment-schedule requirements as well.
Can you withhold final payment for a poor painting job in NZ?
Do not assume that a touch-up list automatically suspends the invoice. Check the contract, whether the amount is due, and whether you have received a payment claim under the Construction Contracts Act. Raise concerns promptly and get advice before withholding payment where the position is disputed.
Your workmanship complaint
For qualifying household services supplied by a business, the Consumer Guarantees Act includes a guarantee of reasonable care and skill. Consumer Protection’s guidance on poor-quality work says to contact the service provider, explain the problem and seek an appropriate remedy. Your options depend on the nature of the failure and the response; a written warranty is not the only possible source of rights.
The payment process still matters
Construction contracts can involve formal payment claims. MBIE explains the requirements for payments and disputes under the Construction Contracts Act. A workmanship complaint does not, by itself, satisfy the requirements for responding to a payment claim.
If a formal payment claim arrives
Read the accompanying Form 1 notice immediately. If you dispute the claim, a compliant written payment schedule must identify the claim and state the amount you propose to pay. If that is less, it must explain the calculation and reasons.
Check the contractual response deadline. Where no response date was agreed, the notice specifies 20 working days after service. A scheduled amount must still be paid by the payment due date. Do not let an informal repair discussion run past the response deadline; seek prompt legal advice if you are unsure.
For agreed outstanding work, put the correction and any agreed payment arrangement in writing. Avoid inventing a universal retention percentage. A few snag-list items do not, by themselves, establish a lawful deduction or its amount.
If you cannot agree about the workmanship, a suitably experienced independent assessor can help identify the defect, likely cause and reasonable repair scope. Ask about their experience with the particular coating and surface, and agree the inspection fee and report scope first.
What to collect at handover and after touch-ups
Keep the final record useful for the next visit and for later maintenance. Consumer Protection recommends retaining contracts, receipts, warranties and other purchase records. Store your photo list with them.
- Paint identification: brand, product, colour code, tint strength and sheen for each surface; labelled leftover paint if included in the agreement.
- Care instructions: when to clean, expose the finish to water, replace furnishings and resume normal use.
- Job documents: accepted quote, approved variations, final invoice, relevant guarantees and any outstanding-item agreement.
- Repair record: what was corrected, where, when, and the result of the dry-finish review.
On reinspection, revisit each reference in the same order. Check whether the repair blends with the surrounding surface and whether the work introduced splashes or damage nearby. Mark an item resolved only after checking it; keep anything still uncertain open with a next action.
For future work, how to avoid bad house painters in NZ can help you ask clearer questions before accepting a quote.
Budgeting for additional work outside the original scope?
Use the interior painting cost calculator for a newly proposed room or the full house painting cost estimator for a broader project. Get an itemised quote for the actual work. These estimates do not determine the value of a defect, a refund or an amount to withhold.
Painting inspection questions homeowners ask
How can I tell whether a paint job is good quality?
Compare the dry appearance and completed scope with what was agreed. Look for consistent coverage and finish, controlled edges, clean surroundings and no unexplained coating failure. Ask for product and application information where needed. A tidy appearance cannot prove all hidden preparation was done correctly.
Are roller marks or brush marks acceptable?
Applied paint can have a texture; a roller finish is not necessarily identical to a sprayed finish. Describe any heavy ridges, obvious bands or inconsistent areas and compare them under normal viewing conditions with the specified result. The presence of texture alone does not identify defective work.
Should I use a torch to inspect painted walls?
A torch can identify the location of a concern, but strong light directed along a wall exaggerates small surface variations. Also check from normal positions under even lighting. Record if the issue is visible only under side light and discuss the finish that was specified.
Do painters have to make old walls perfectly smooth?
The agreed preparation and finish matter. Local filling and repainting may retain old texture or unevenness; a full skim or replacement lining is different work. Ask how the quote addressed the existing condition. The scope should help resolve the expectation, without excusing newly introduced defects.
How long should I wait before the final inspection?
Arrange it when the painter confirms the applied product is ready for a visual check. Some care restrictions continue beyond surface drying. You can record obvious omissions immediately and schedule a further look at areas still drying, while keeping track of any payment deadlines.
What if the painter says I am being too picky?
Return to one specific item: show where it is, how it appears in normal use and what the quote says. Ask the painter to explain the proposed standard or correction. If the disagreement remains material, consider an independent technical opinion instead of debating the whole job in general terms.
Should I release the final payment if a few touch-ups remain?
Check when payment is contractually due and document the agreed outstanding work. Any revised payment arrangement needs agreement or another valid basis. If you are disputing a formal payment claim, use the proper response process; this checklist does not authorise delaying payment.
What if peeling or another defect appears after I have paid?
Photograph it, record when it appeared and contact the painter promptly. Payment alone does not establish that every later problem is your responsibility. The cause, contract and applicable consumer rights still matter. Keep the evidence and seek advice if the cause or remedy is disputed.
Can I use this checklist as a professional sign-off?
No. It organises your observations and questions. It does not certify compliance, measure coating thickness, establish hidden adhesion or replace a qualified assessment. Areas you could not inspect should remain identified in the record.
Sources and how to use this guide
The walkthrough and record builder are practical homeowner tools. Read the original guidance for its context, and use the actual contract and product instructions for your job.
- MBIE: Guide to tolerances, materials and workmanship (2015, PDF) — viewing conditions and painting guidance; not a universal specification for every repaint.
- Dulux: poor hiding, uneven sheen and blocking — separate symptoms.
- Resene: interior painting technical questions and blistering back to the substrate — curing, touch-ups and older coating failure.
- Consumer Protection: poor-quality or incomplete work and keeping records — consumer remedies and documentation.
- MBIE: Construction Contracts Act requirements and Form 1 payment-claim notice (PDF) — payment processes and responding promptly.