What Usually Goes Wrong When First-Time Homeowners Paint
The biggest painting mistakes are rarely about choosing the wrong colour. What usually goes wrong when first-time homeowners paint is poor preparation, unrealistic budgeting, patchy cutting-in, missed repairs, rushed drying time, and underestimating how unforgiving paint can be once it is on the wall. If you are painting your first home in New Zealand, this guide breaks down the mistakes that actually cost people time, money, and sanity.
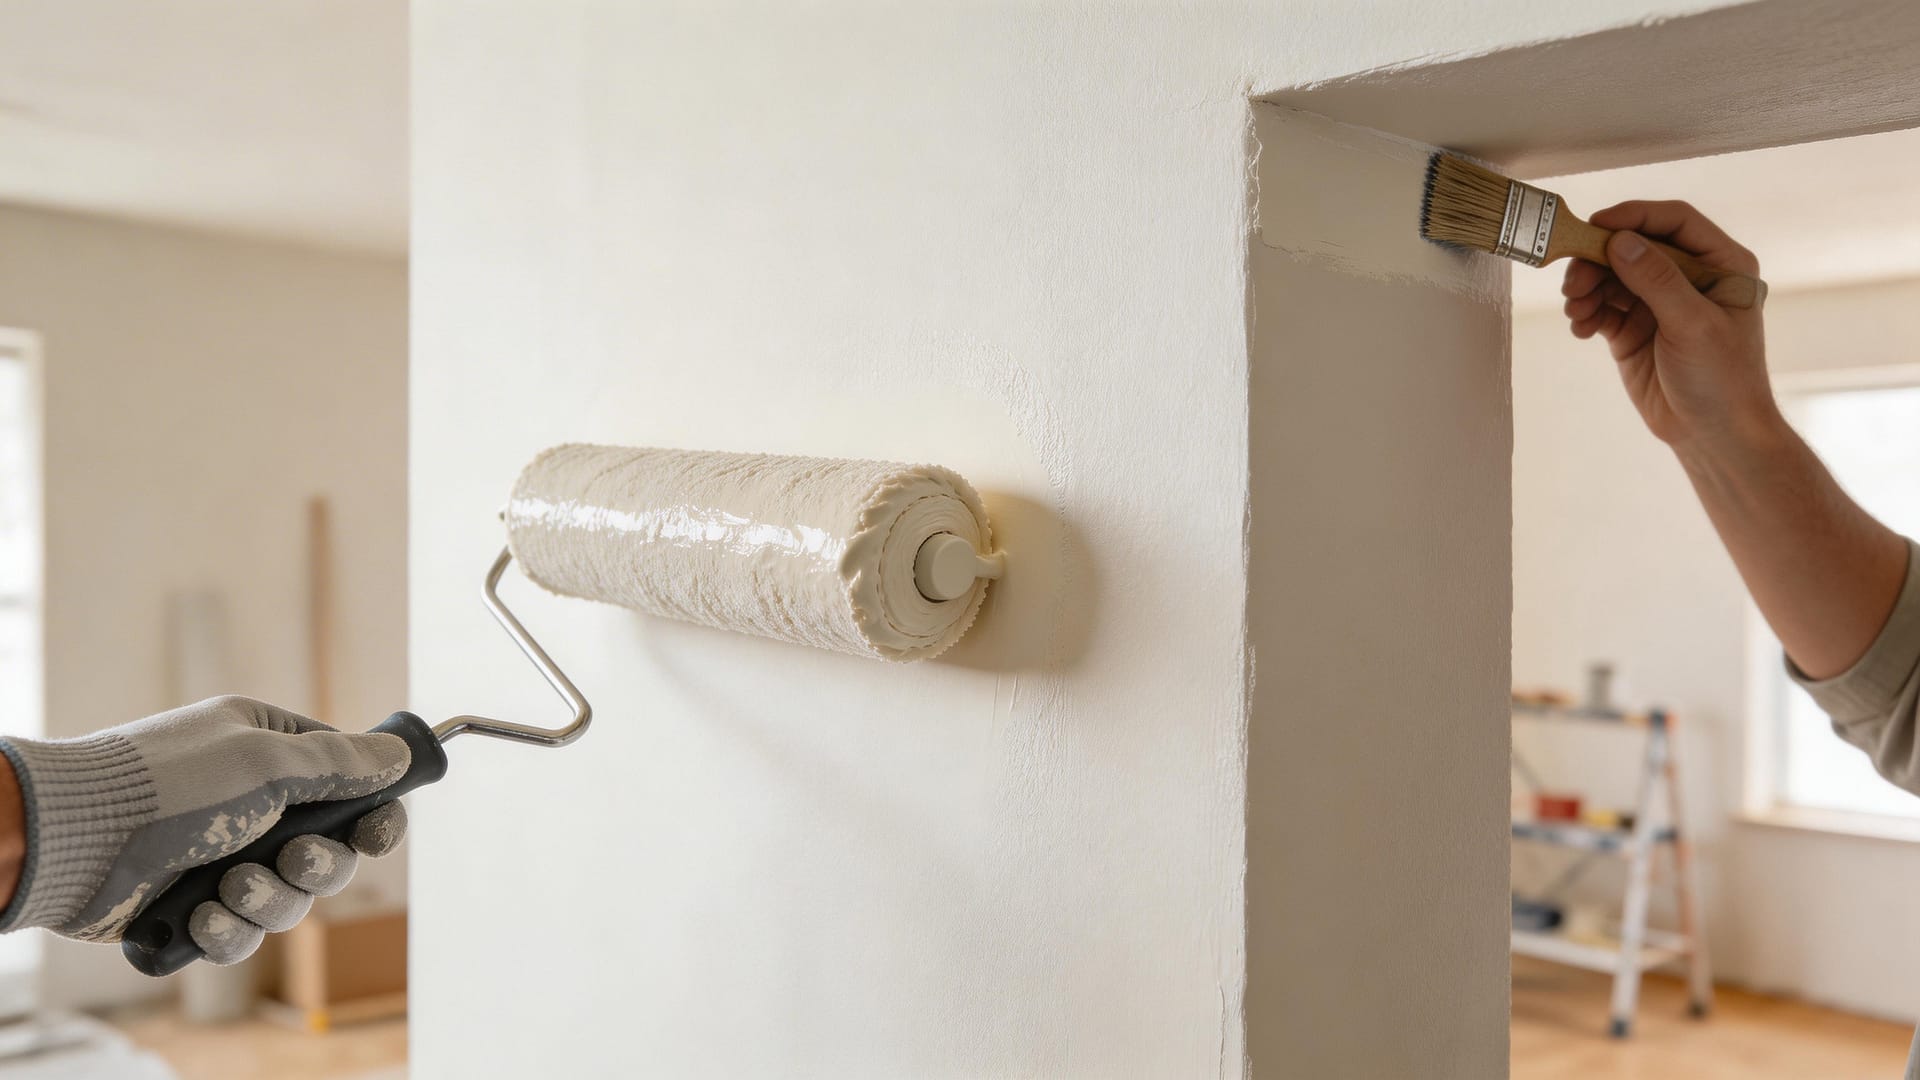
What homeowners care about most
Most people worry about roller marks, uneven colour, visible brush lines, and rough edges around trims and ceilings.
A cheap DIY job can become expensive fast if you need more paint, more prep materials, or a professional rescue job.
Yes. Peeling paint, patch flashing, bubbling, and poor adhesion usually start before the first top coat even goes on.
That depends on the room, the surface condition, the finish you expect, and how much rework you can tolerate.
A lot of first-time homeowners assume painting is one of the easier home improvement jobs. Compared with plumbing or electrical work, it feels approachable. You buy paint, grab a roller, put on a playlist, and get stuck in. That is exactly why painting mistakes are so common. The barrier to entry looks low, but a good finish depends on dozens of small decisions that beginners tend to underestimate.
In real homes, the most common first-time homeowner painting mistakes are not dramatic. They are cumulative. A skipped wash here. A cheap roller there. A filler patch not sanded properly. A second coat applied too early. A wall colour tested under the wrong light. None of these sounds disastrous on its own. Together, they are why a fresh paint job can end up looking messy, patchy, or strangely cheap.
If you are searching things like what usually goes wrong when first-time homeowners paint, common DIY painting mistakes, why does my paint look patchy, or what first-time painters forget, this is the practical version. No vague fluff. Just the issues that matter most.
The most common problems at a glance
| What goes wrong | Why it happens | What it looks like | Why it matters |
|---|---|---|---|
| Poor surface prep | Dust, grease, flaky paint, damp spots, and unsanded filler are ignored | Peeling, bubbling, rough patches, flashing | Even expensive paint will fail if the surface underneath is not ready |
| Bad cutting-in and roller technique | Inexperience, rushing, low-quality tools | Wobbly lines, lap marks, uneven texture | The finish looks amateur even if the colour choice is good |
| Wrong paint or sheen | People pick by colour only | Marks too easily, highlights defects, hard to clean | The room can look worse after painting than before |
| Skipping primer when needed | Trying to save time or money | Blotchy colour, tannin bleed, uneven absorption | Extra coats and poor durability often follow |
| Underestimating cost and time | Only counting paint, not prep, tools, masking, and repairs | Project drags on, supplies run out, finish standards drop | DIY stress is one of the main reasons people regret painting themselves |
1. They start painting before the surface is actually ready
This is the number one issue. When people ask why paint peels, blisters, or looks uneven, the answer is often surface prep. First-time homeowners tend to focus on colour and ignore the wall itself. But old surfaces carry grease, hand oils, dust, soap residue, hairline cracks, dents, and sometimes moisture problems. Paint does not magically hide these things. Quite often, it emphasises them.
Interior walls especially can deceive you. They look smooth until daylight hits the fresh coat and every filler patch, sanding scratch, and uneven area suddenly becomes obvious. In kitchens and bathrooms, poor cleaning is a major mistake. In older homes, flaky paint and chalky surfaces need far more attention than beginners expect.
If you want a finish that holds up, prep is not optional. It is the job. Washing, scraping, filling, sanding, spot priming, and checking for damaged areas usually matter more than the painting itself.
2. They assume one coat will save the day
Another classic first-time homeowner painting mistake is expecting one coat to cover properly. Sometimes it can, but often it cannot, especially if you are changing colour significantly, painting over repairs, or working on thirsty surfaces. Deep colours, strong whites, and patch-repaired walls often need more patience than people plan for.
The problem is not just appearance. When beginners stretch paint too thin to make it go further, coverage drops, consistency drops, and durability often drops with it. What they end up with is a wall that looks okay from across the room and rough up close.
3. They buy cheap tools and then blame themselves
Not every bad result is about lack of skill. Sometimes the tools are working against you. Cheap rollers can shed fluff, distribute paint unevenly, and create poor texture. Budget brushes often do not cut in cleanly. Weak masking tape can bleed. Thin drop sheets shift around. First-time painters may think the problem is their technique, when part of the problem is that they are fighting low-grade gear.
You do not need luxury tools for every project, but decent brushes, reliable rollers, and the right roller nap for the surface make a big difference. A quality finish comes from control, and control is harder when the tools are inconsistent.
Before you buy paint, check the numbers properly
One of the biggest first-time DIY painting mistakes is budgeting only for paint tins. A proper estimate should also account for prep work, repairs, number of coats, and room size.

4. They choose colour without thinking about light, undertones, or mood
As a colour designer would tell you, the wrong paint colour is rarely just “the wrong colour”. It is often the wrong colour for that light, for that room size, or for the fixed elements already in the space. First-time homeowners often test paint too quickly, under one type of light, or on one tiny patch. Then the full room goes on and suddenly the grey reads purple, the beige looks muddy, or the white feels cold and clinical.
Good colour selection is strategic. You need to consider natural light direction, floor tone, cabinetry, trim, and how the room is used. Hallways, bedrooms, kitchens, and living areas do not all behave the same way. If the goal is a calm home that feels expensive and cohesive, undertone discipline matters more than people think.
5. They ignore existing damage and hope paint will hide it
Paint hides colour inconsistency. It does not fix substrate problems. Cracks, popped plaster, damp staining, blistered patches, and failed caulking need proper attention first. One of the most expensive DIY painting mistakes is painting over damage because the problem nearly always comes back through the new finish.
This is especially true when you see signs like bubbling paint, recurring stains, musty smells, or flaking around windows, bathrooms, and exterior joinery. In those cases, paint failure is usually a symptom, not the root issue.
6. They do not budget for the hidden parts of the job
People often search how much does DIY painting cost in NZ or is it cheaper to paint a house yourself. The answer is yes, sometimes, but only if you cost it honestly. Beginners often count only the obvious materials and forget about tape, plastic, filler, sanding supplies, primer, brushes, rollers, extension poles, trays, cloths, sugar soap, gap filler, and extra coats caused by mistakes.
This is where the cheapest option is not always the option that feels cheapest on day one. A slightly better roller, proper prep gear, and enough primer can sometimes save more money than buying the lowest-priced paint and hoping for the best. If keeping the project affordable is your main goal, it is worth reading a more practical breakdown of the cheapest way to paint a house in NZ before you start buying materials.
Then there is the time cost. A room that looks like a weekend job can eat up multiple evenings once you factor in prep, drying, re-coating, and touch-ups. That does not mean DIY is a bad idea. It means first-time homeowners should compare real DIY cost against real professional quotes, not fantasy numbers. For a more detailed cost comparison, this guide to DIY vs professional painting cost in NZ can help you judge when doing it yourself still makes sense and when hiring a painter may be the smarter move.
7. They rush because they are tired halfway through
Painting punishes impatience. The second half of the project is where standards often slip. Corners get rougher. Protection gets lazier. Drying times get shortened. The finish coat gets applied late at night under bad lighting. At that point, fatigue becomes part of the problem.
This is why beginners often start strong and finish messy. The project looked small on paper, but the energy required to maintain consistent quality is higher than expected. A good strategy is to define stopping points in advance and never start a coat you are too tired to finish properly.
8. They treat painting as decoration, not as surface design
The best homes do not just have fresh paint. They have intentional paint. That means choosing the right finish for wear levels, using colour to support proportion, and understanding that walls, trims, ceilings, and adjoining spaces need to feel related. Beginners who only think in terms of “what colour do I like?” often miss the bigger design picture.
A well-painted home feels calm, balanced, and clean because the finish supports the architecture. Even simple neutral schemes can look stunning when the sheen, contrast, and transitions are thoughtful.
DIY painting: when it works and when it goes sideways
DIY can work well when:
- You are painting a simple bedroom or study
- Surfaces are in good condition
- You are realistic about prep time
- You buy proper tools and enough paint
- You care more about savings than absolute perfection
DIY often goes wrong when:
- The walls need repairs or stain blocking
- You are tackling kitchens, bathrooms, or exteriors
- You want a sharp resale-level finish
- You have not allowed for proper drying and re-coating
- You are guessing the budget instead of estimating it
FAQ: what first-time homeowners usually ask
Final word
What usually goes wrong when first-time homeowners paint is not a mystery. It is almost always a mix of rushed prep, wrong expectations, tool compromises, poor sequencing, and underestimating how visible small flaws become under fresh paint.
The good news is that most painting mistakes are preventable. If you plan the budget properly, respect preparation, test colour intelligently, and know when a job is bigger than it looks, your first painting project can still be a success. And if you want to avoid the most common cost mistake of all, start by estimating the job properly before you open a single tin.