How NZ Weather Affects Exterior Paint
Sun can leave a wall faded and chalky. Rain can expose weak paint edges and leaks. A damp night can damage a fresh coat before it has properly dried. Understanding which problem you have is the first step towards a repair that lasts.
UV, moisture, salt and temperature changes gradually age exterior coatings. During a repaint, wet surfaces, excessive heat, cold, wind or early dew can compromise the new finish. Check the existing damage first, then choose a coating and a drying window that suit the actual wall.
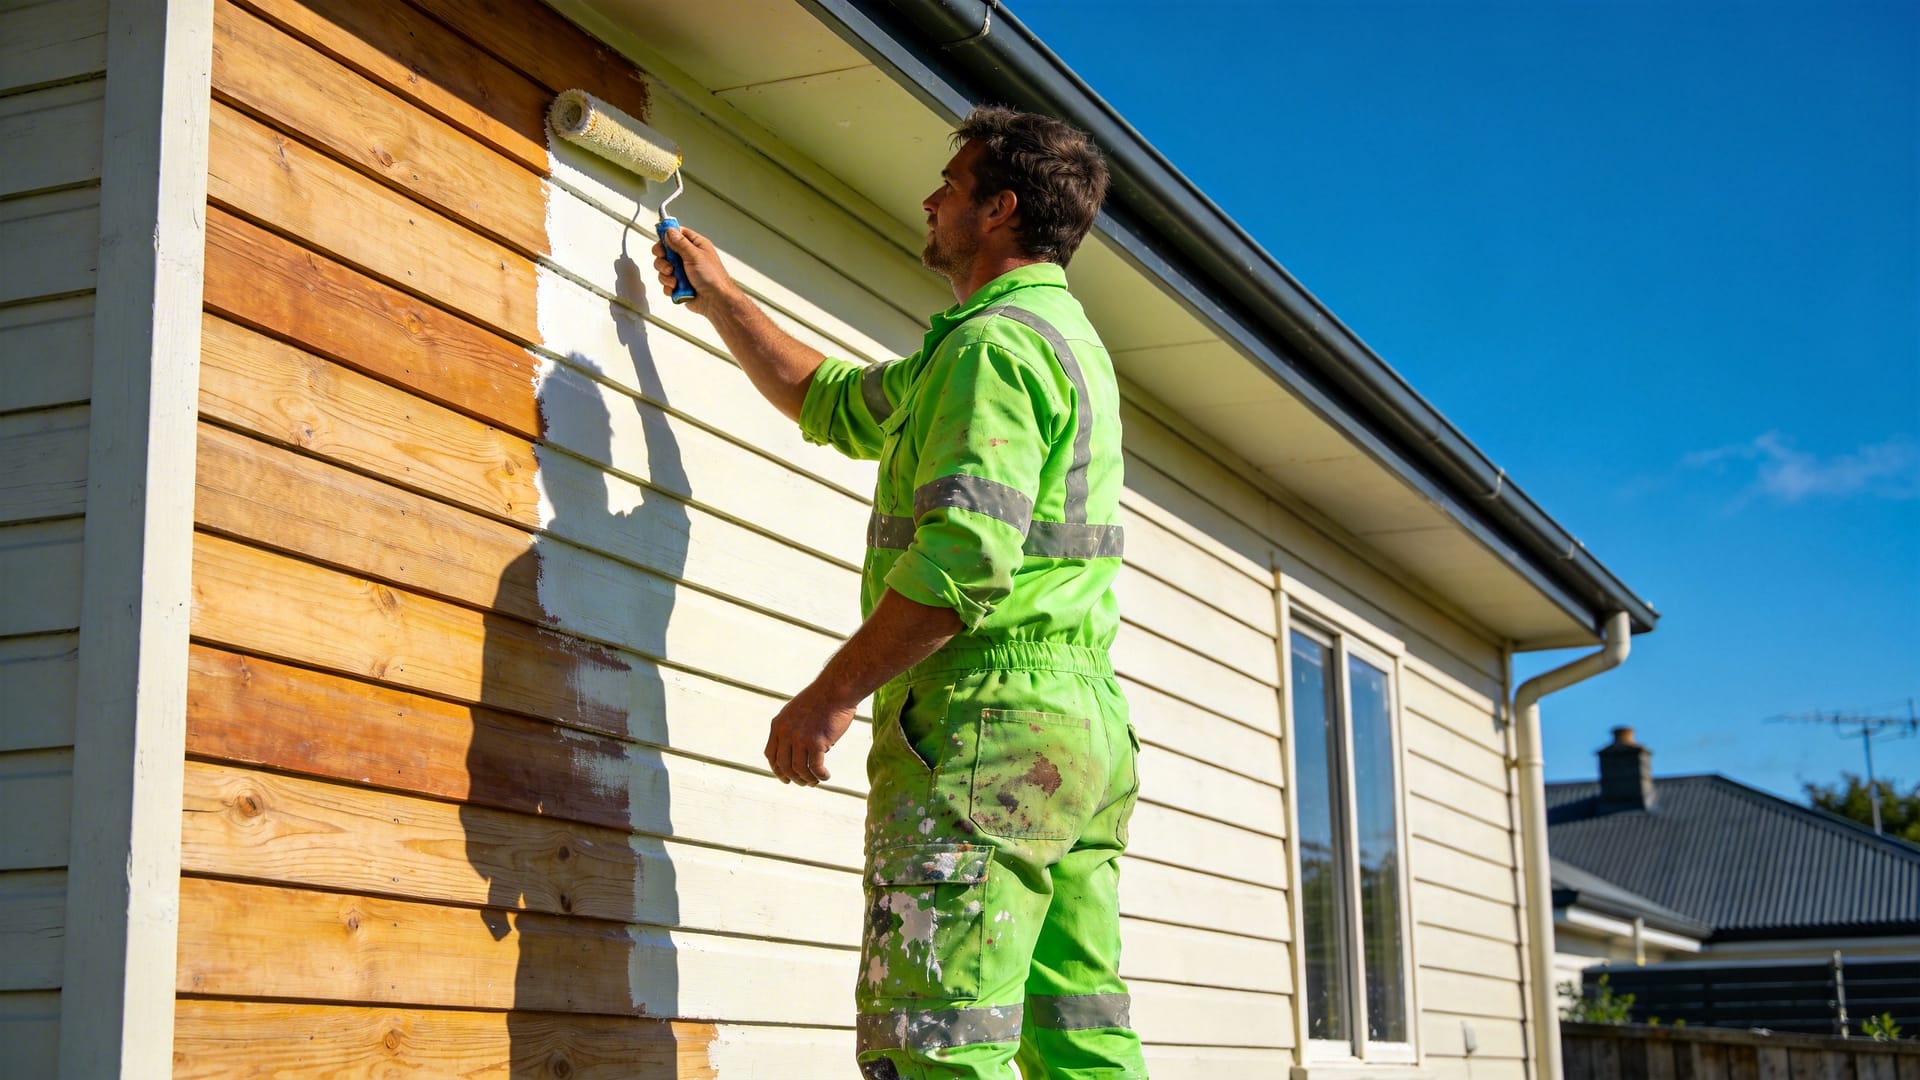
Six ways NZ weather affects exterior paint
Weather damage is a combination of exposure, surface condition and coating performance. A useful inspection connects each weather factor to a visible sign and a practical response.
1. Colour fades and paint becomes chalky
UV exposure contributes to changes in pigments and binders. A finish may lose colour or gloss; weathering can also release a powdery residue from the paint film.
Look for: a colour difference between exposed and sheltered areas, or powder on a cloth wiped across old paint. Check film condition as well as appearance.
2. Bubbles and peeling develop
Water can affect a vulnerable fresh coating or reach the substrate through failed paint and building details. Damp material and weak adhesion can leave the next coat with an unstable base.
Look for: lifting around board ends, trims and window corners, especially where the same area repeatedly becomes wet.
3. Deposits and corrosion need attention
Salt carried by wind can collect on cladding and metalwork. Sheltered areas may retain deposits because rain rarely rinses them. Rust at a fixing requires more than a coat of wall paint.
Look for: contaminated surfaces under eaves, staining around fixings and corrosion on exposed metal components.
4. The surface works harder
A sunlit wall can be hotter than the surrounding air. Dark finishes can increase heat stress, particularly when an older light-coloured surface is repainted in a much darker colour.
Look for: movement, splitting or coating failure concentrated on hot elevations. Check cladding colour restrictions before changing the scheme.
5. Rain exposure and application change
Wind can drive rain against vulnerable details and carry salt, dust or debris. While painting, it can also dry a wet edge too quickly and make spray drift difficult to control.
Look for: an exposed side that deteriorates differently, and conditions that make it difficult to apply an even, clean coat.
6. Drying slows and dampness lingers
Cool, humid conditions slow drying. Condensation can wet a wall without rainfall, while persistent shade can support recurring surface growth. A clear sky is not proof of a suitable drying night.
Look for: morning moisture, slow-drying shaded areas, recurring mould or marks that appear on recently painted surfaces.
Technical background: Resene on heat and UV, chalking, salt contamination and painting weather (PDF).
Why a new paint job and an old paint job fail differently
Heat or wind can shorten the working time. Cold or damp conditions can prevent normal drying.
Rain or dew can leave marks, wash off vulnerable paint or contribute to moisture blisters.
Weak edges and unresolved moisture paths may keep producing failure in the same locations.
Fading, chalking and erosion may become more noticeable as the finish weathers.
Timing is a clue, not a diagnosis. Damage soon after painting raises questions about application, preparation and existing adhesion. Gradual change on a sunny wall points towards weathering. Neither pattern proves the cause on its own.
Is it ordinary weathering, a paint failure or a moisture problem?
Start with the symptom and its location. Fading alone, peeling to bare timber and a stain that darkens after every storm should lead to different decisions.
| Pattern you can see | Possible explanation | What to check | Next step |
|---|---|---|---|
| Faded colour, coating still attached | Weathering, with greater change on exposed surfaces. | Is the film continuous, or thinning enough to expose the material below? | Assess condition Plan maintenance around the remaining protection and desired appearance. |
| Powder comes off old paint | Chalking, although dirt and other deposits can look similar. | Does cleaning remove the residue, and is the remaining coating sound? | Clean & assess Remove loose residue before deciding on a recoat. |
| Paint peels around edges or ends | Loss of adhesion, moisture, movement or weakness in an older layer. | Which layer is releasing? Is the substrate wet or deteriorated? | Repair required Define the preparation and repair area before topcoating. |
| Bubbles after rain or a damp night | Moisture affecting fresh paint or moving through the substrate. | Painting date, rain timing, the affected layer and whether bubbles change as they dry. | Inspect first Document the pattern before disturbing it or adding paint. |
| Mould or algae returns in shade | Persistent surface dampness and conditions supporting growth. | Gutter overflow, dense planting, debris and drying differences between walls. | Treat the cause Clean appropriately and address recurring wetness. |
| Soft timber, repeated wet staining or spreading damage | Possible material deterioration or unresolved water entry. | The moisture source and extent of damage, including beyond the visible patch. | Repair assessment Resolve the building problem before a paint-only scope. |
For moisture-related bubbles, see Resene’s blistering guidance. Similar-looking defects can have different causes; use the table to guide inspection rather than diagnose from appearance alone.
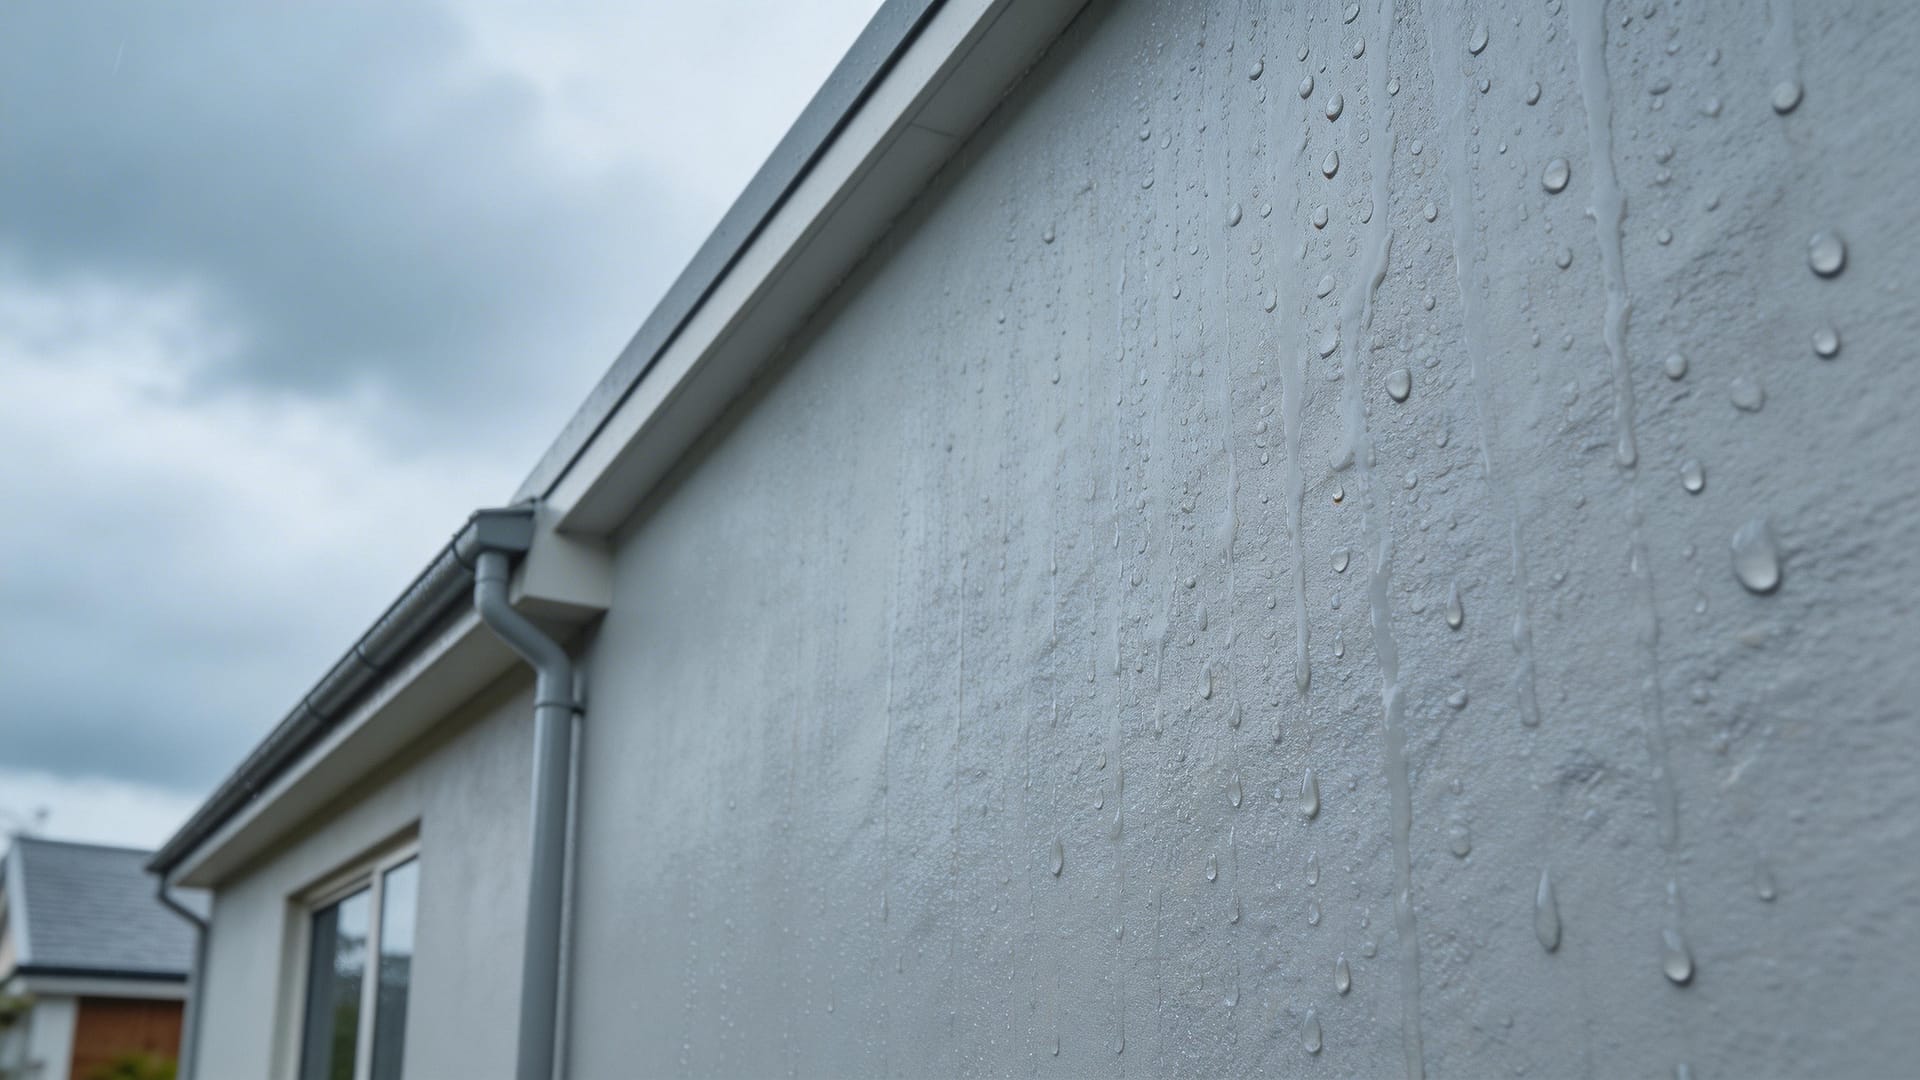
Inspect the house by exposure, not just by postcode
The same house can need different treatment on different sides. These are useful starting points in New Zealand; trees, nearby buildings, hills and roof overhangs can change the pattern.
Check the hot, exposed faces
Compare colour, sheen, chalking and cracks with a sheltered area of the same coating. Include upper trims and board ends, not only the easy-to-reach middle of the wall.
Planning question: can this wall be coated when it is out of excessive direct heat?
Check how long moisture remains
Look after rain and again once exposed walls have dried. Note recurring growth, gutter overflow and vegetation close to the cladding.
Planning question: has this particular wall dried sufficiently, even if the front of the house looks dry?
Check both exposed and unwashed areas
Inspect the face receiving weather, then under eaves and sheltered trims where salt can remain. Check metal fixings separately from painted timber.
Planning question: does the preparation account for contamination and corrosion on each material?
Make a simple wall-by-wall record: location, defect, whether it worsens after rain, and one close-up plus one wider photo. Repeat the same views at the next inspection. This helps you distinguish an isolated repair from a broader repaint requirement.
Can I paint outside today? Check the weather window
Answer for the wall and coating you plan to paint next, including the primer if that is the next coat. Use the product instructions and actual conditions. Leave an answer as “Not checked” if you cannot confirm it.
Six checks before the next coat
Check each condition for the specific wall. An unsuitable condition needs action; an unknown condition needs verification.
This screening tool uses your answers. It does not retrieve a forecast, measure moisture or approve a coating specification.
A suitable start time is only half the decision. The coat also needs suitable conditions after you stop working. If evening cooling or dew cuts that window short, finishing earlier—or waiting for another day—may be necessary.
Temperature, humidity and dew: what conditions should you check?
Use the current instructions for every product in the system. General weather guidance helps you plan, but it cannot override a primer or topcoat’s application limits.
| Check | Published guidance | Practical implication |
|---|---|---|
| Temperature | Resene’s general specification favours 15–25°C. Outside 10–35°C it requires products with suitable temperature tolerances. | Check the air and surface requirements for the actual product; do not treat the day’s maximum as the wall temperature. |
| Relative humidity | The same specification restricts painting above 85% RH unless special precautions are taken. | Check the drying period as well as the application time. |
| Dew point | That specification requires the surface to be at least 5°C above dew point. | Condensation risk can stop work even when the forecast contains no rain. |
| Rain exposure | The necessary drying window depends on the selected product and conditions. | Check the next likely rain or dew exposure against the product guidance. |
| Direct heat and wind | Resene advises avoiding excessive heat and choosing a more sheltered working area when wind dries paint too quickly. | Plan the wall sequence around surface conditions. |
Sources: Resene general specification, section 3.21 and painting weather guide. The figures above describe those documents, not universal limits for every paint.
Plan around the wall
- Check sheltered and exposed areas separately.
- Allow for drying after washing or rain.
- Work on a face with suitable surface temperature.
- Leave the required drying window after the final coat.
Do not rely on these shortcuts
- “It is sunny, so the wall must be dry.”
- “There is no rain icon, so dew cannot be a problem.”
- “The first wall dried quickly; the shaded one will too.”
- “Touch dry means ready for overnight weather.”
For seasonal booking, see the best time of year to paint a house in NZ. Use the season to choose a likely project window, then use actual site conditions to decide when each coat goes on.
Rain before or after painting: what should you do?
Rain before a coat goes on is a substrate-drying question. Rain afterwards is a fresh-coating assessment. The same waiting rule cannot answer both.
How long after rain can you paint outside?
Wait until the wall meets the coating system’s moisture requirements. One dry afternoon does not prove that board ends, joints and shaded areas have dried as much as the open face.
For timber, use moisture readings where the system or condition requires them. Check suspect areas, not only the easiest dry-looking spot. Include water introduced during washing in the drying plan.
Decision: start when the substrate is suitable and the next drying window is sufficient, rather than after an arbitrary number of hours.
How long must exterior paint dry before rain?
Use the exact product’s rain-exposure guidance and stated conditions. Touch-dry time, minimum recoat time and full cure describe different stages; none should be substituted for a rain-resistance instruction.
If rain-safe timing is not stated clearly, get confirmation from the manufacturer for the product and conditions. A general “two hours” or “overnight” answer can be misleading.
Decision: compare the last coat’s application time with the earliest expected rain or dew, not just the next working day.
If rain has already hit the fresh paint
- Record what happened
Note the product, coat, application time, approximate rain timing and affected wall. Photograph the whole area and close-ups before changing anything.
- Let the result be assessed
Look for washed-off film, runs, persistent soft areas, bubbles or streaks. Some small moisture blisters can subside as they dry, while larger ones may lose adhesion. A stain or streak can require a different response from a detached film.
- Repair the identified defect
Ask the painter or manufacturer whether cleaning, further drying, local preparation or recoating is appropriate. Avoid covering a questionable layer before its condition is understood.
See Resene on moisture blisters and surfactant leaching and paint care. Surface deposits after moisture exposure are not automatically evidence that the entire coating has detached.
Will a better paint or a darker colour change the outcome?
Product choice matters most when it matches the substrate, exposure and existing coating. “Exterior”, “coastal” or “weather-resistant” should lead to a specific system, not replace one.
Changing from a light colour to a dark colour deserves an extra check. The added heat load can stress older paint layers and timber. Check the cladding manufacturer’s colour or light reflectance value (LRV) requirements, then confirm that the proposed primer and topcoat are suitable.
Heat-reflective pigments can reduce some heat stress but do not eliminate every risk. Resene’s exterior Q&As discuss situations where existing adhesion, timber movement and a darker repaint interact. Read the manufacturer’s exterior paint guidance.
Use our guide to exterior paint colours for NZ homes to develop the scheme alongside those material restrictions.
| Coating choice | Its useful role | What still needs checking |
|---|---|---|
| Exterior topcoat for the cladding | Provide a finish designed for the material and outdoor exposure. | Substrate condition, old paint adhesion, preparation and the complete coating system. |
| Primer for coastal metalwork | Provide the specified preparation layer for that metal and exposure. | Salt removal, corrosion, existing finishes and whether components need repair or replacement. |
| Heat-reflective dark finish | Reduce some heat-related stress compared with the corresponding conventional colour. | Cladding colour restrictions, existing layers and suitability for the proposed surface. |
| Mould-resistant coating | Help resist growth as part of a correctly prepared system. | Existing growth, contamination and persistently damp conditions must still be addressed. |
Preparation for existing growth: Resene’s moss and mould guidance.
Repair weather-damaged exterior paint in the right order
Define the cause, the damaged material and the sound coating you can keep. That determines whether the job is a small repair, a whole elevation or a wider repaint.
- Map the defects
Record the affected walls, board ends, trims, fixings and window details. Separate gradual colour change from loose film, wet staining and material deterioration.
- Resolve active moisture and building defects
Investigate recurring wet areas, overflowing gutters and suspect water-entry details. Have damaged material assessed before agreeing to cover it.
- Remove contamination and allow drying
Use preparation appropriate to the cladding and coating. Address salt, chalk and growth; account for the water introduced by washing before checking readiness again.
- Establish a sound base
Have failing layers removed and remaining adhesion checked. Repair or replace deteriorated material as required. Preserve intentional drainage and ventilation gaps when addressing joints.
- Specify the primer and finish
Identify products and preparation for each surface, including bare areas, old coatings and metalwork. Confirm coat numbers, application requirements and any colour limitations.
- Apply within a suitable weather window
Check each wall before coating and allow the specified intervals. Reassess when the weather changes; a suitable morning does not establish a suitable evening.
- Keep the maintenance record
Save the product names, colour, painting date, repaired locations and photos. Recheck previous problem areas during routine maintenance and after relevant wet weather.

Three situations that call for different decisions
These are illustrative planning examples, not inspected projects or current weather forecasts.
Faded north side, sound coating
The north wall looks lighter than the sheltered porch. There is no obvious peeling or bare timber, but a cloth picks up some powder.
Next step: identify and remove the residue, then inspect the film. Discuss maintenance or appearance-driven recoating once condition is clear. Colour difference alone does not determine a full strip.
A late coat before a damp night
The wall is ready and the afternoon appears suitable, but evening cooling and dew may arrive before the coating’s required drying window ends.
Next step: change the finish time or day. Starting conditions are only part of the check; the final coat needs enough suitable time afterwards.
Peeling below a window, rust at fixings
A seaward wall has a repeated wet patch under a window and rust staining nearby. The rest of the paint is largely attached.
Next step: investigate water entry and corrosion separately. Request a defined repair scope before deciding how much surrounding paint needs renewing.
How weather damage changes the repaint budget
Wall area is only part of the price. The existing condition determines how much cleaning, preparation and repair must happen before the finish coats.
Sound paint with deposits
Ask whether cleaning and monitoring are sufficient or whether a maintenance recoat is due. Confirm the remaining coating’s condition before budgeting a full repaint.
Failure in defined areas
Allow for preparation, repairs and primers at those locations. Ask whether the surrounding wall needs recoating to produce a consistent colour and sheen.
Extensive failure or damaged material
Separate coating removal and substrate repairs from the painting price. Confirm access requirements and how uncertain repairs will be priced once exposed.
The average cost to paint a house exterior in NZ provides broader budgeting context. Compare its assumptions with the condition and access issues recorded at your property.
Estimate the painting stage, then confirm the repairs
Start with an indicative painting range. Identify suspected leaks, timber repairs, corrosion and access needs when requesting a site quote so you can see which items the estimate includes.
Four weather questions to put beside every quote
- Which walls or details need different preparation, repairs or products?
- What weather conditions will stop work, and how will drying be checked?
- Could delays change access hire, protection or return-visit costs?
- How will unexpected damage and any extra work be agreed?
Help the next paint job last longer
Inspect and clean routinely
Resene recommends annual cleaning of exterior paintwork, particularly areas that do not receive natural rainwashing. Follow the coating and cladding instructions; salt deposits or persistent growth may need attention between routine cleans.
Follow the previously weak spots
Compare the same photos during an annual walk-around. Revisit repaired window corners, shaded walls, board ends and fixings after the conditions that used to cause problems.
A defect returning in the same place is a useful reason to investigate the cause again, even when the rest of the house still looks good.
Frequently asked questions
Does NZ sun damage exterior paint even when the air feels cool?
Yes. UV exposure and air temperature describe different things. A cool-feeling day can still expose paint to sunlight, while a sunlit surface can be warmer than the surrounding air. Inspect exposed paint and check the wall temperature when planning application.
Can you paint outside in winter in New Zealand?
Sometimes, with a suitable product and a sufficiently dry surface and weather window. Check its temperature, moisture and drying requirements. A low-temperature coating does not make a damp substrate or expected frost acceptable.
Can you paint on a cloudy day?
Yes, if the substrate and application conditions meet the product requirements. Cloud cover can help avoid excessive direct sun. Rain risk, humidity, temperature and the drying window still need checking.
Is 24 hours after rain enough to start painting?
It can be enough in some circumstances and insufficient in others. Substrate, shade, water exposure and drying conditions differ. Confirm that the wall meets the coating’s moisture requirements rather than using elapsed time alone.
Is peeling paint always caused by rain?
No. Poor preparation, weak older layers, incompatible coatings and movement can also be involved. Rain-related timing is a clue, but the affected layer and underlying surface still need inspection.
Are streaks after dew a sign that the new paint must come off?
Not necessarily. Water-soluble ingredients can move to the surface of fresh waterborne paint and leave marks known as surfactant leaching. Confirm the cause and cleaning method with the manufacturer; a cosmetic deposit needs a different response from paint that has lost adhesion.
Do coastal houses always need repainting more often?
Salt exposure adds maintenance demands, but it does not establish one shorter repaint interval for every coastal home. Assess the actual exposure, cleaning, substrate and coating condition. Sheltered areas and metal components deserve particular attention.
How many years should exterior paint last in NZ?
There is no reliable single interval for all houses or walls. Preparation, material, coating, colour, exposure and maintenance all matter. Follow the system’s maintenance guidance and act on local failures before waiting for the whole house to look worn.
Technical references
Use these explanations alongside the current data sheets for the exact products being applied.
- Resene: Check the weather before painting (PDF)
- Resene: General application specification
- Resene: Heat and UV effects
- Resene: Chalking
- Resene: Blistering
- Resene: Salt contamination and staining
- Resene: Exterior paint Q&As
- Resene: Moss and mould preparation
- Resene: Paint care and surface deposits
- Resene: Exterior maintenance
The next step starts with the wall in front of you
Record the damage, check the substrate and resolve the cause. Then match the preparation, coating and weather window to that wall. This gives you a clearer repair plan and a more useful painting quote than treating every faded or peeling surface as the same job.