Why Weatherboard Houses Need More Prep Before Painting in NZ
Weatherboard houses usually need more preparation because the new coating must bond to a surface affected by timber movement, moisture, UV exposure, failed paint edges, open joints and earlier repairs. The house may look ready for paint from the street, while the true labour sits underneath the old coating.
Updated 9 August 2026 · New Zealand homeowner guidePainting is only the final stage. A durable weatherboard repaint first needs a clean, dry and stable surface. Washing, scraping, feather-sanding, repairs, selective gap sealing and spot priming can therefore take longer than applying the finish coats themselves.
House size does not tell you the full prep cost
Two weatherboard homes with a similar wall area can require very different amounts of work. One may have a sound existing coating that needs washing, light sanding and local touch-ups. The other may reveal widespread peeling, soft timber, failed filler and several generations of incompatible patch repairs.
That is why an exterior price based only on square metres can be misleading. Area helps estimate the amount of coating and general labour, but surface condition determines the preparation scope. Before accepting a quote, the useful question is not simply “How many coats?” It is “What must be made sound before those coats go on?”
For the wider budget context, first review the average cost to paint a house exterior in NZ. Then use the condition guide below to understand why a weatherboard-specific quote may sit above or below a general estimate.
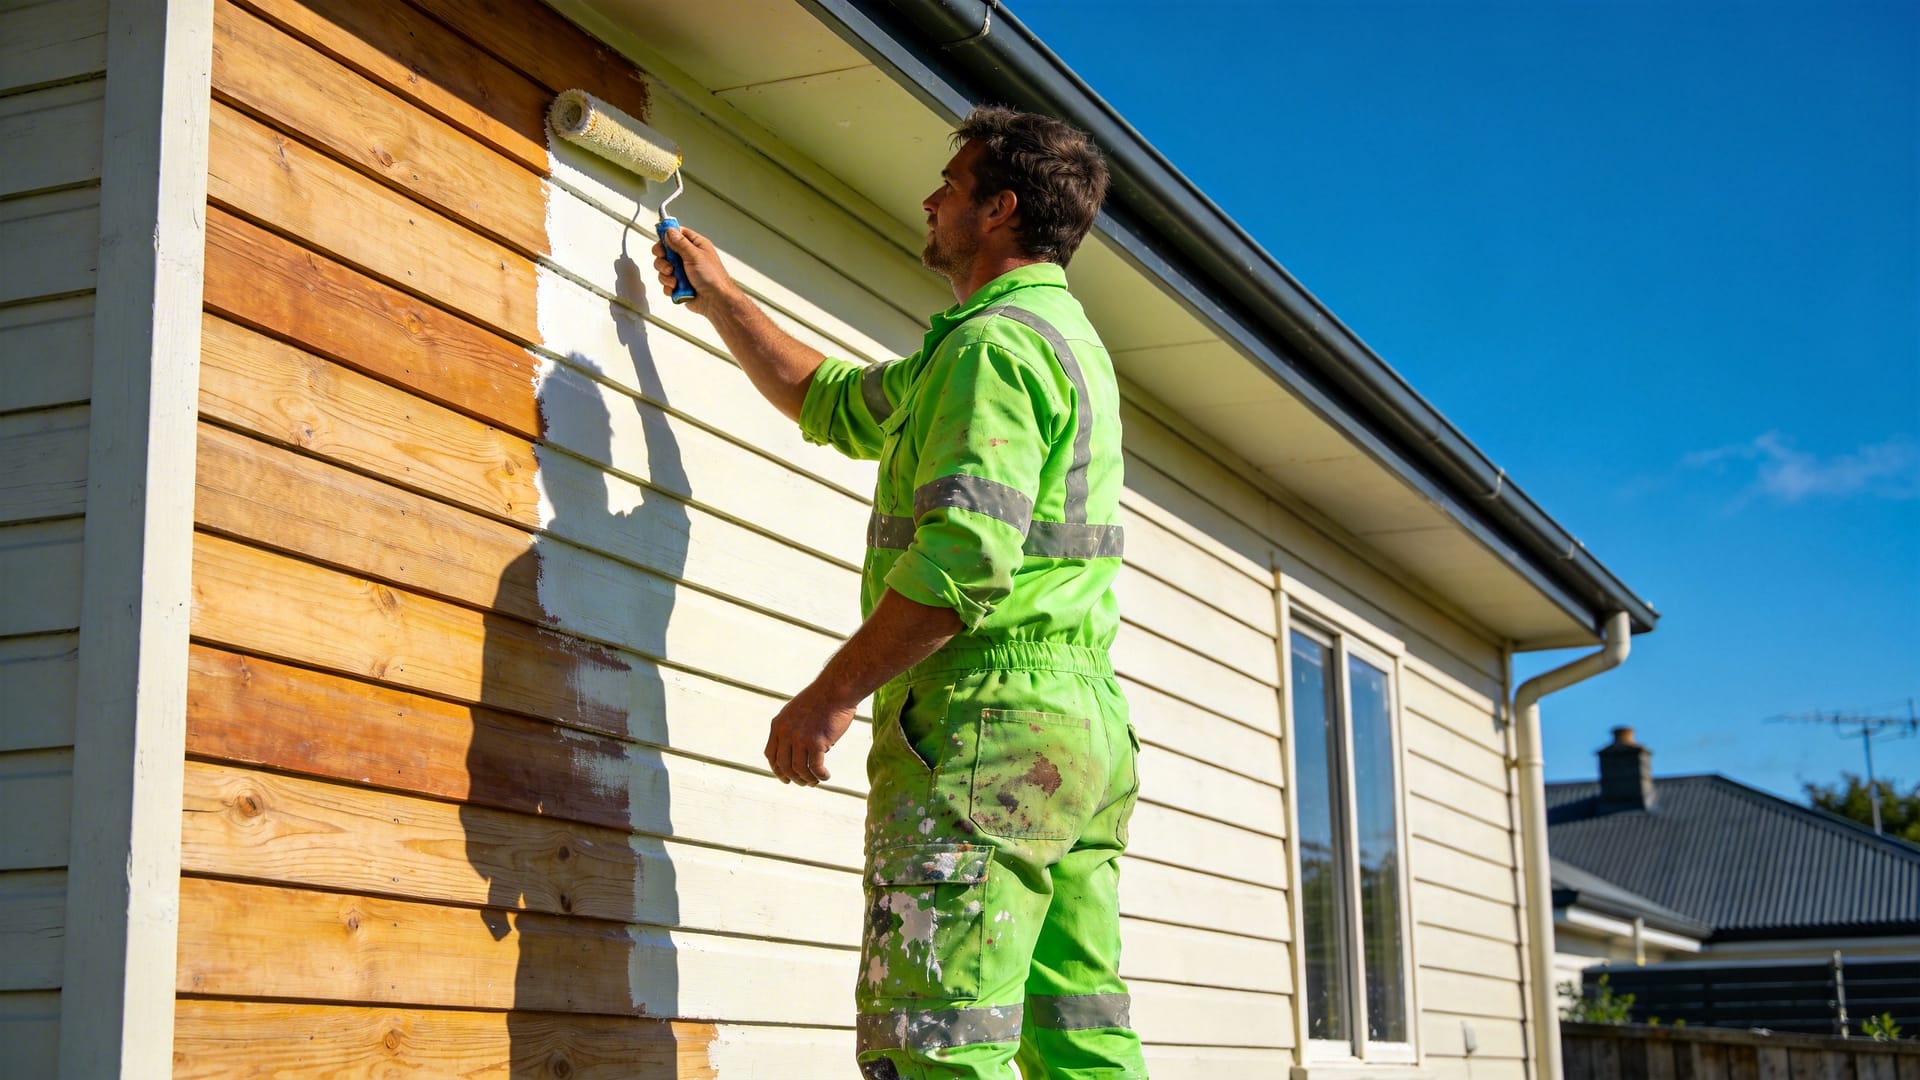
Why weatherboard preparation becomes more demanding
“More prep” is not one vague extra. It is the combined effect of several conditions, each requiring a different response before repainting can begin.
Old paint fails at edges
Weatherboard laps, corners and exposed board edges create many places for a coating to lose adhesion. Loose paint must be removed and sound edges feathered so the failure is not trapped beneath the new system.
Timber moves
Timber responds to changes in temperature and moisture. Joints can open, fillers can crack and rigid repairs can fail. Preparation must allow for movement instead of simply hiding every visible line.
Moisture exposes defects
Lower boards, window junctions, shaded walls and end grain can stay damp longer. Painting over moisture or damaged timber can shorten coating life and conceal a repair that should have been dealt with first.
Contamination blocks adhesion
Mould, chalked pigment, salt residue, dust and grime can remain even when a wall looks reasonably clean. The surface needs the correct treatment, wash, rinse and drying time before sanding or priming.
Past repairs show through
Hard filler ridges, missed nail holes, unprimed patches and mismatched surface texture become more visible under fresh paint. Blending these areas takes local sanding, filling and undercoating.
Access multiplies labour
A second storey, sloping site, narrow side path, conservatory roof or overhead services can slow every stage—not only painting. Washing, scraping, masking and inspection all need safe access.
What the visible condition usually means
This is a planning guide, not a substitute for an on-site inspection. It helps you recognise why a painter may specify a lighter, moderate or heavy preparation allowance.
| What you can see | What it may indicate | Likely preparation response | What to ask in the quote |
|---|---|---|---|
| Generally sound Colour fading, surface dirt, only isolated defects |
The coating may still be well bonded, with weathering mainly at the surface. | Wash, mould treatment where needed, light sanding, local filling and spot priming. | Which defects are included, and how are bare or glossy areas being treated? |
| Local failure Peeling around windows, corners, joins or lower boards |
Moisture, exposed end grain, failed sealant or local coating breakdown. | Investigate the cause, scrape to a sound edge, feather-sand, repair and prime locally. | Is the cause being repaired, or is the quote only covering the visible paint failure? |
| Widespread failure Flaking across elevations, heavy chalking, many bare patches |
The existing coating may no longer provide a reliable base for a standard repaint. | Heavier scraping or stripping, extensive sanding, dust control and a larger priming allowance. | How much removal is included, and what happens if failure extends beyond the visible areas? |
| Timber damage Soft boards, open joints, swelling, cracked ends or recurring stains |
Possible rot, water entry or a building defect that paint alone cannot solve. | Repair the source, replace or repair timber as needed, allow it to dry, then prime and coat. | Who handles carpentry and moisture issues, and are those costs included or excluded? |
| Unknown old system Very old layers, unusual board material or uncertain renovation history |
Lead paint, asbestos-containing material or coating compatibility may need investigation. | Stop before aggressive sanding or water blasting; identify the material and plan safe controls. | Has the painter allowed for testing, containment, disposal and any specialist contractor? |
The weatherboard preparation sequence
The exact specification depends on the cladding, existing coating and product system. A professional workflow usually follows this logic so that defects are found before they are buried.
Inspect first
Identify coating failure, timber damage, mould, difficult access, safety risks and areas that may need specialist testing.
Wash and treat
Remove contamination and treat mould where required. Cleaning is preparation, not a substitute for removing unsound paint.
Allow to dry
Timber must be dry enough for the specified coating system. Shaded walls and repaired areas may need longer than expected.
Remove failure
Scrape loose coating and feather stable edges. The aim is a sound transition, not merely a smooth-looking loose layer.
Repair the substrate
Resolve rotten timber, failed fastenings and water-entry defects before cosmetic filling. Paint cannot repair decayed wood.
Fill and seal selectively
Fill appropriate defects and seal specified joints. Do not automatically block laps or drainage paths that need to move or drain.
Prime bare areas
Prime exposed timber, repairs and other specified surfaces with a compatible primer before the finish coats are applied.
Mask, coat and inspect
Protect adjacent surfaces, apply the specified coating system and complete a final check of edges, joins and repaired areas.
Important detail: not every visible gap should automatically be filled. Weatherboard laps and some junctions are designed to move or shed water. Sealing the wrong place can create a moisture problem rather than solve one. The correct treatment depends on the cladding profile and manufacturer’s system.

Why painting straight over old paint fails
A new coating can only perform as well as the layer holding it to the house. If that underlying layer is chalky, loose, contaminated or poorly bonded, the fresh paint may detach with it. This is why “two coats” does not describe the quality of a repaint unless the quote also describes the substrate preparation.
Painters also need to distinguish between isolated edge failure and a broader adhesion problem. Local peeling may be addressed through targeted scraping and priming. Widespread failure can require much more removal, and the true extent may only become clear once preparation starts.
The practical lesson is simple: do not compare quotes by coat count alone. Compare the assumed condition, the removal allowance, the repair boundary and the process for handling additional defects.
Drying time and surface condition are part of the coating system
New Zealand’s UV exposure, wind-driven rain, shaded elevations and coastal salt can affect different sides of the same house in different ways. A single “whole-house condition” label may therefore hide several prep levels.
Why moisture matters
BRANZ advises that timber weatherboards should be painted when dry and notes a timber moisture content of 14–18% when primer is applied on site. The product specification still controls the job, but the principle is clear: painting damp timber is not a shortcut.
Read BRANZ guidance ↗Why exposure differs by elevation
A sunny wall can show UV breakdown and chalking, while a shaded wall may hold mould and moisture. Coastal elevations may also carry salt contamination. The wash, repair and primer allowance should respond to each wall—not just the best-looking side.
Model your exterior project cost →Prep includes the surfaces you are not painting
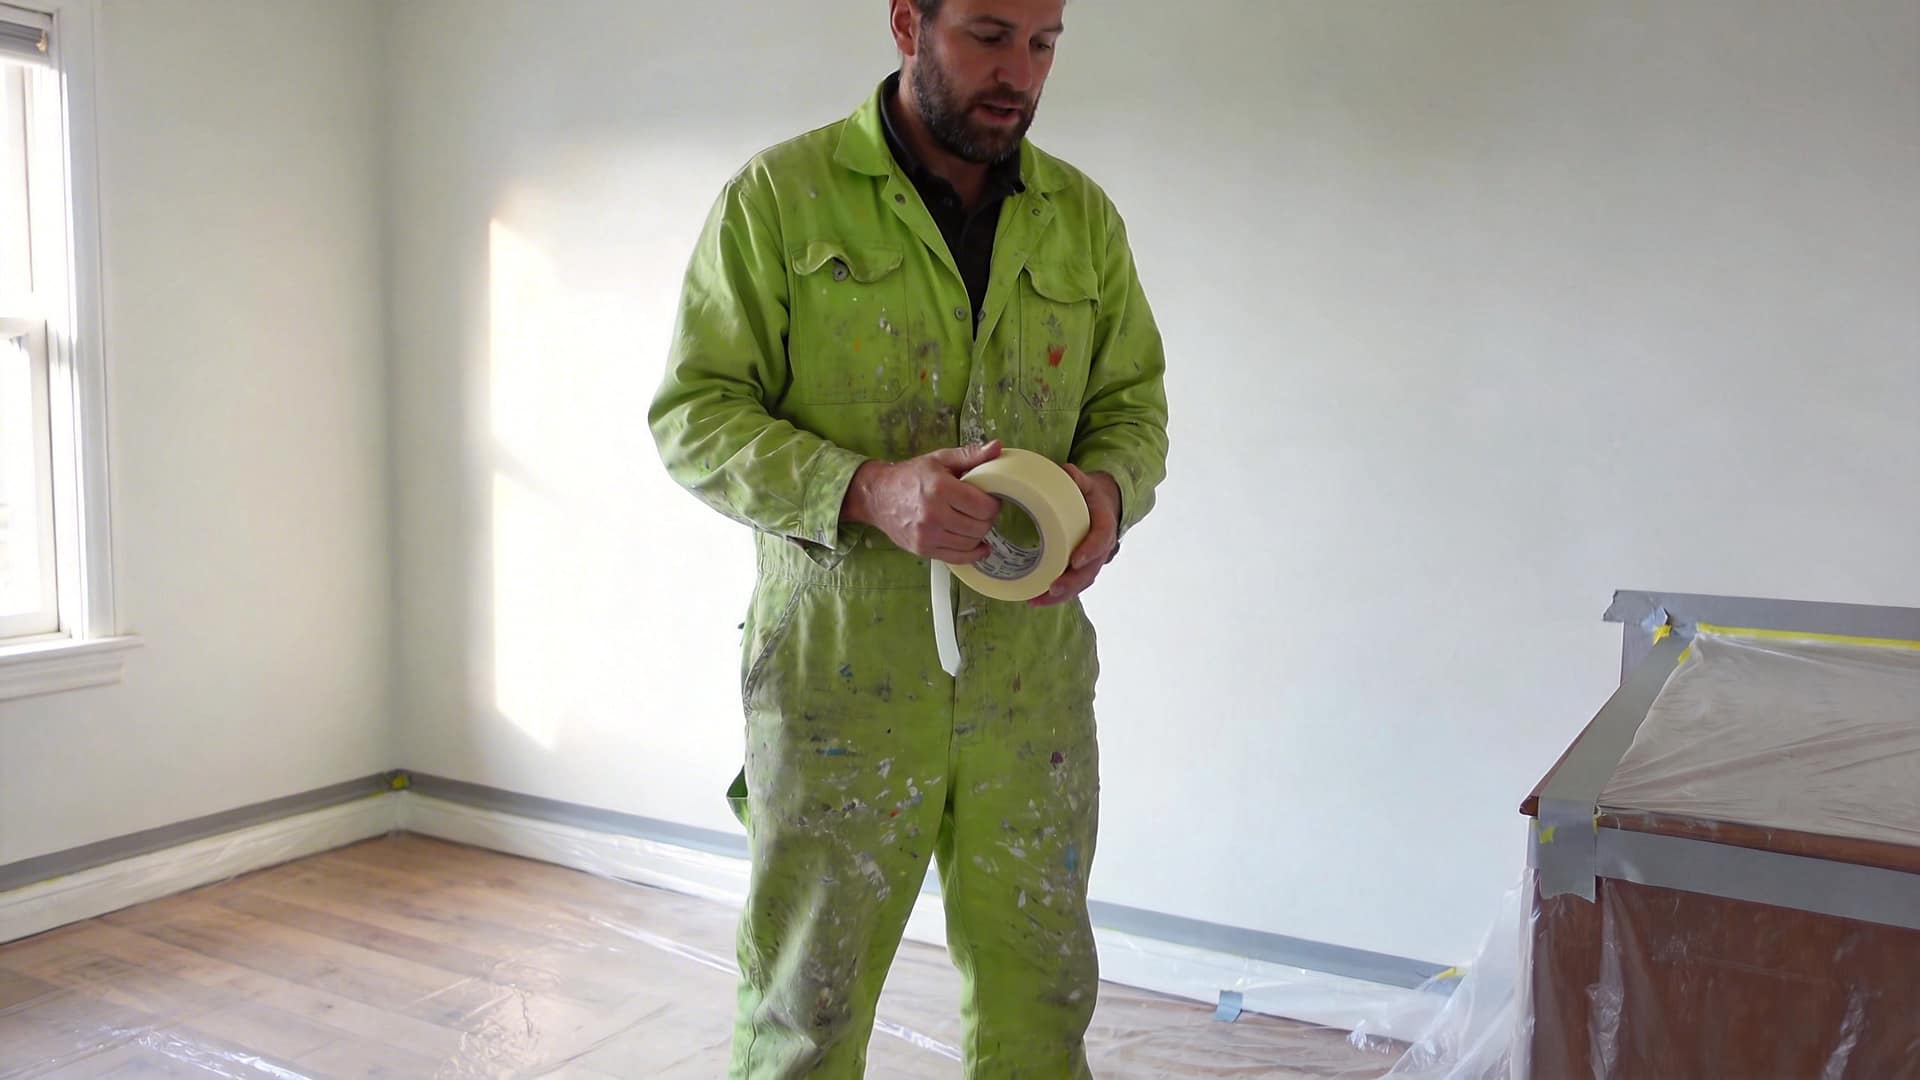
A neat exterior repaint requires more than work on the weatherboards. Windows, fittings, roofs, paving, plants and neighbouring property may need protection. Scraped paint debris and wash water also need to be controlled, particularly where an older coating may contain lead.
On a constrained site, setup and protection can be repeated for each elevation. Scaffolding does not remove this work; it creates a safer platform from which washing, scraping, repairs, masking, priming and coating can be completed properly.
This is one reason a weatherboard quote should state whether access, masking, debris collection and daily cleanup are included. If those tasks are absent from the scope, the price is difficult to compare with a quote that includes them.
Older homes may need more than normal sanding and washing
The age and material of the house can change the safe preparation method. These are investigation points, not items to improvise during the job.
Old lead-based paint
Scraping and sanding older coatings can create lead-contaminated dust and debris. WorkSafe advises precautions when managing or removing lead-based paint, including protecting occupants and controlling debris. Ask how the contractor will identify and manage the risk before disturbance begins.
Possible asbestos-containing cladding
Some older exterior materials can contain asbestos, and it cannot be confirmed just by looking. WorkSafe says homes built before 1 January 2000 may contain asbestos and suspected material should not be sanded, drilled, cut or water blasted. Identification comes before preparation.
This guide mainly addresses painted timber weatherboards. Fibre-cement, coated metal, PVC and proprietary weatherboard systems can require different cleaning, sanding, priming and joint treatment. Confirm the cladding type before applying a timber-weatherboard specification.
What to check before accepting a weatherboard painting quote
A useful quote makes its assumptions visible. If preparation is described only as “standard prep”, ask for enough detail to understand what happens when the house is worse than assumed.
Cleaning method
Does the scope include mould treatment, detergent or prep wash, rinsing and drying time—not only a quick water blast?
Paint removal allowance
Is scraping and sanding limited to isolated spots, or is a heavier allowance included for widespread failure?
Priming specification
Which bare surfaces and repairs will be primed, with what compatible product, before the finish coats?
Repair boundary
Are small fillers included? What about rotten boards, failed scribers, window defects or carpentry discovered after scraping?
Access and protection
Are scaffolding, edge protection, masking, plant protection, debris control and cleanup included in the price?
Variations and evidence
How will extra work be approved and priced? Will the painter show photos or explain defects before increasing the scope?
A low quote is not automatically poor, and a high quote is not automatically thorough. The defensible comparison is whether both painters have priced the same preparation, repair, access and coating assumptions.
Estimate the exterior first, then adjust for the real prep condition
Use the exterior calculator for a starting range. Treat the result as a planning estimate, then use an on-site quote to confirm coating condition, repairs, access and safety requirements.
Weatherboard painting preparation FAQ
Why do weatherboard houses need more prep before painting?
Weatherboards have many edges, laps and joints, and timber moves with moisture and temperature. Older coatings may also be peeling, chalky or contaminated. Painters must create a clean, dry and stable surface before the new coating can bond reliably.
Can a painter just apply two coats over the existing paint?
Only if the existing coating is sound, clean and compatible after the specified preparation. New paint applied over a loose or chalky layer can fail with that layer. The quote should state how unstable paint, bare timber and repairs will be handled before topcoating.
Does all old paint need to be removed from weatherboards?
Not necessarily. Sound, well-bonded paint can often remain after cleaning and suitable sanding. Loose or failed paint needs to be removed back to a stable edge. Widespread adhesion failure, lead risk or an incompatible coating system can require a different and more extensive plan.
How can I tell if my weatherboards need heavy preparation?
Warning signs include widespread peeling, bare timber, heavy chalking, recurring stains, soft boards, cracked ends, open joints and many failed patch repairs. Check all elevations because the shaded and exposed sides of the house may be in very different condition.
Should gaps between weatherboards be sealed?
Not automatically. Some cracks and specified joints may need a compatible flexible sealant, but weatherboard laps and drainage paths should not be blocked without reference to the cladding system. Ask the painter which gaps are being sealed and why.
Why can two weatherboard painting quotes be so different?
The painters may have assumed different levels of scraping, sanding, repair, priming, access and safety control. Compare the written scope line by line. A lower figure may cover a straightforward wash-and-repaint assumption, while another quote allows for visible coating failure and timber repairs.
Is brick house painting preparation the same?
No. Brick and masonry have different porosity, joints, moisture behaviour and coating requirements. If you are comparing cladding types, see the separate guide to brick house painting cost in NZ.